How to Regrip a Tennis Racket at Home, Step by Step
How to regrip a tennis racket: remove the worn wrap, fit a replacement or overgrip, choose the right size, and tape the handle for a secure, clean finish.

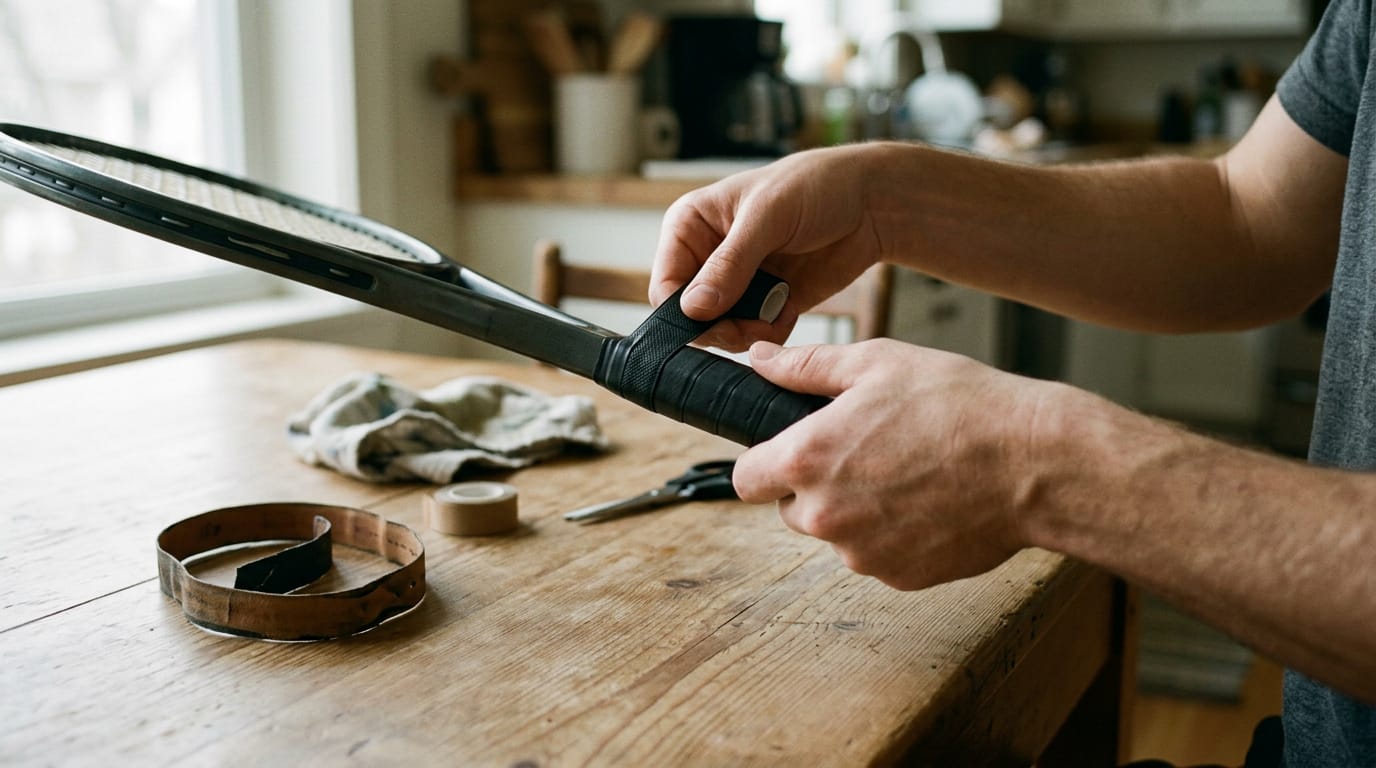
Think about a steering wheel that’s gone smooth and slick. You grip harder, your turns get less precise, and before long you’re fighting the wheel instead of driving. A worn tennis racket handle does the same thing to your swing.
The fix is a regrip, which means replacing the wrap on the handle, and it’s one of the easiest ways to get back that secure feel.
In this post, we’ll walk through the process step by step, from stripping the old grip to finishing the tape and overgrips.
We’ll also cover the shop-counter advice you’d normally hear: when a regrip is due, which grip to choose and how to get the size right.
Regripping a Tennis Racket, Overgrip or Replacement
A fresh grip is one of the quickest ways to change how a racket feels. Here’s how an overgrip and a replacement grip compare, and when to do the job yourself.
Putting on an overgrip
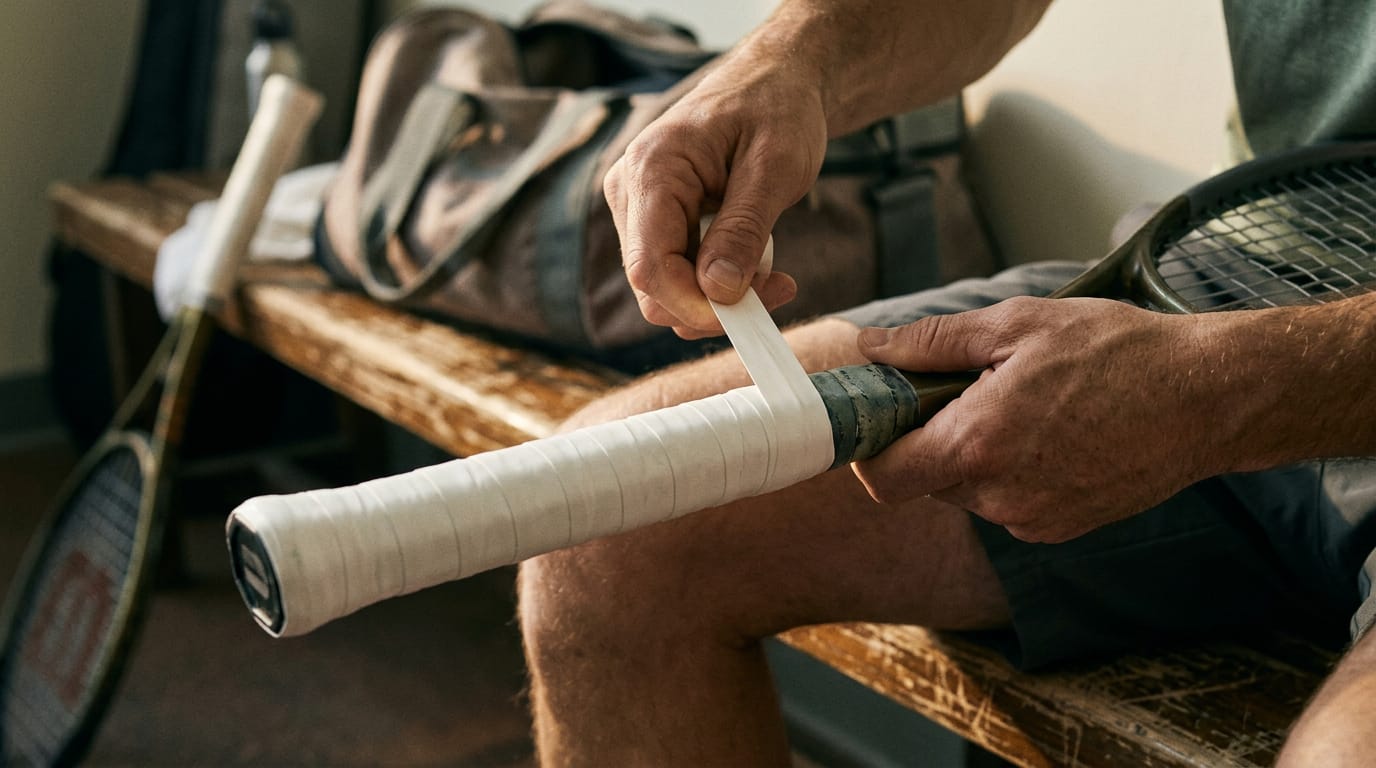
An overgrip goes on in nearly the same way as a replacement grip. The old grip stays put, and you don’t need a staple to anchor the start. Just tuck the starting tab under the existing grip and begin wrapping.
- Keep each wrap snug, not stretched, so the tape doesn’t warp.
- Overlap each pass so there are no gaps.
- Finish by tucking the tail under the last wrap.
How often you swap depends on your playing level. A heavy hitter who plays several times a week will need fresh overgrips far more often than a casual weekend player.
Paying a pro or doing it yourself
Plenty of players wrap their own grips, and it’s a very doable weekend project. Before you pick up the tape, weigh the tradeoffs:
- Certified stringer. We’d recommend a certified stringer, especially for a full replacement grip.
- DIY results. A first-timer’s grip often comes out lumpy, and you’ll feel every bump on every swing.
A smooth grip disappears in your hand. A lumpy one is all you’ll notice.
Choosing between the two comes down to what’s underneath. An overgrip is about adding a layer, while a replacement is about rebuilding the base. Pick an overgrip if your grip still feels solid and you just want a tackier feel.
Pick a replacement if the base is worn down, flattened, or sticky, since an overgrip can’t fix what’s broken underneath.
Think of a weekend player whose grip has gone shiny and slick after a season of matches. A fresh base gets the racket firmly back in her hand.
What You Need Before You Start
Before you pull anything apart, make sure the grip really needs replacing. Say a club player’s hand keeps sliding on every serve. If the grip is worn smooth, cracked, or flattened on the sides, that’s your sign to replace it.
Tools you’ll need
Gather these first so you’re not hunting for scissors mid-job:
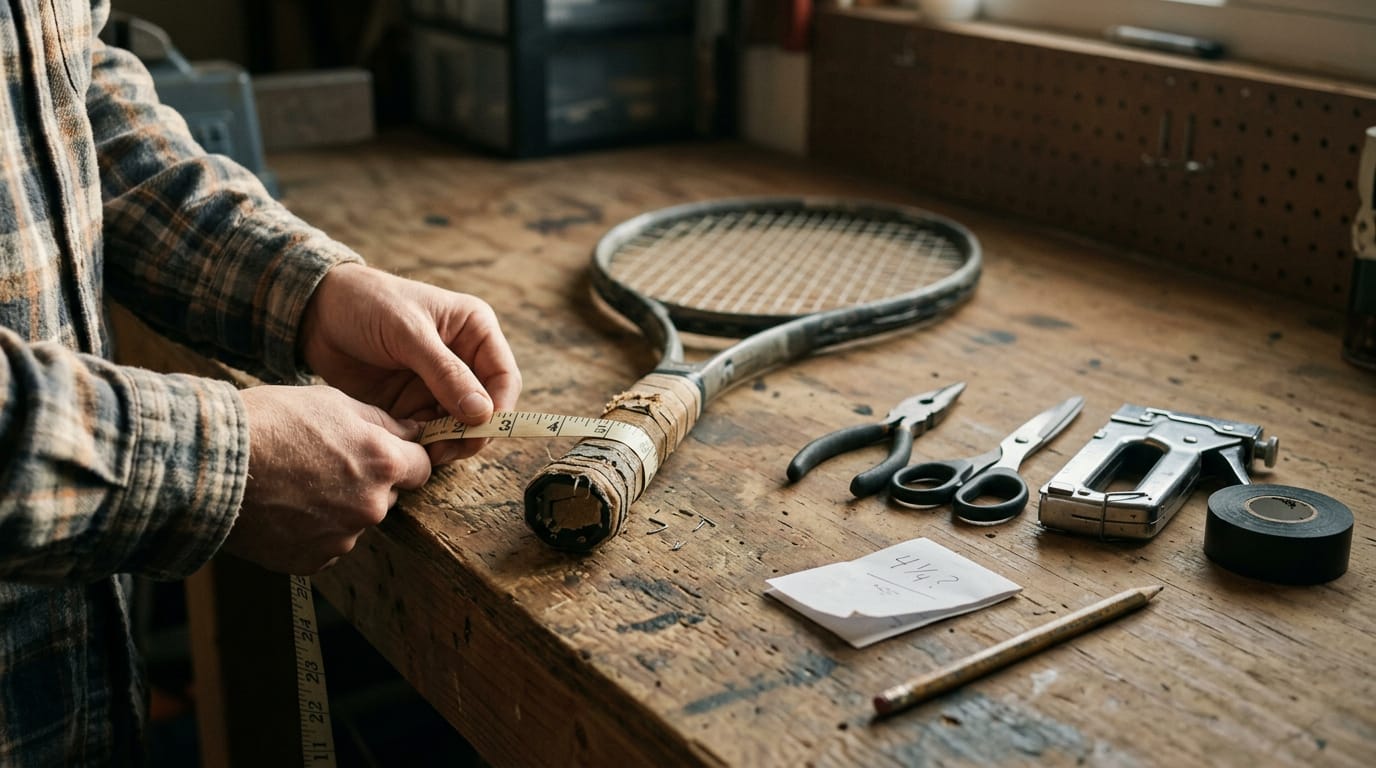
- Needle-nose pliers or a screwdriver to pull the staple that holds the grip at the end of the handle.
- Scissors for trimming the new grip and tape.
- Staple gun (optional) to secure the new grip, if you’re using staples.
- Finishing or electrical tape to wrap and seal the end.
Check your handle size before you buy anything. Buy the size that matches your handle, not the one that looks right on the shelf. A weekend player who guesses wrong ends up with a racket that feels off all season. Don’t guess.
Peeling off the old grip
Work in this order so nothing gets stuck:
- Slide off the rubber collar. Take it off first, since it sits at the top of the handle and gets in the way of the grip.
- Pull the old grip and staple. Use your pliers or screwdriver to free the staple, then peel the grip off the handle.
- Clean off the adhesive. Wipe away any leftover residue so the new grip sits flat.
Wrapping the New Grip Around the Handle
Once the old grip is off, the new tape goes on in a few controlled steps. Work slowly, because a clean wrap keeps the handle feeling even through a full match.
Anchoring the tapered end at the butt cap
Start by attaching the tapered end of the new grip to the butt cap, the cap at the bottom of the handle. Match the bevel of the old grip, the angled edge where the old tape ended.
Then pull the tape in the direction that suits whether you’re right- or left-handed. Some players add a small staple to hold the end before the first wrap, but it’s optional.
Peeling the backing off gradually
Peel the backing off gradually, not all at once, a few inches at a time as you wrap. Pulling it all off early leaves a long, sticky strip that can curl or stick to itself. Go slow.
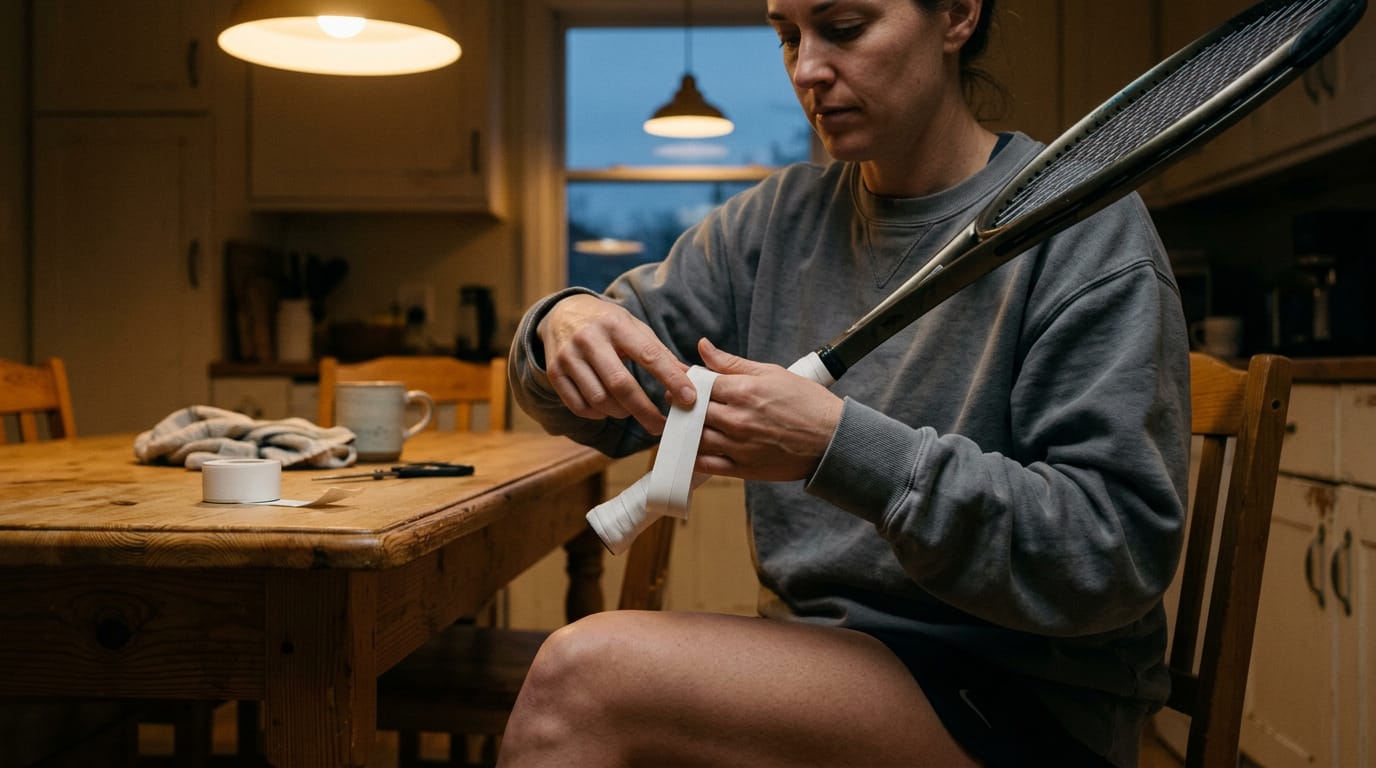
Keeping tension light and hands steady
Keep your hands steady with a few habits:
- Rest the racquet head on your hip so it stays stable.
- Rotate the racquet slowly as you wrap.
- Keep the tension light, aiming for a snug wrap rather than a stretched one.
- Hold your hands close to the handle.
- Use your thumbs to control the tension, not your fingers.
Consider a club player who wraps her own grip on Sunday night before Tuesday league. With light tension and her hands close to the handle, the tape lies flat, so she’s less likely to feel a ridge in her palm by the third set. Light and steady wins.
Choosing an overlap or edge-to-edge wrap
Next, decide how each turn meets the last. A small overlap of about 1/16 inch keeps the tape tight and gives your fingers subtle grooves to rest in. If you’d rather skip the overlap, an edge-to-edge wrap has each turn just touching the one before.
Whichever you choose, make your first wrap cover the starting edge so the tape doesn’t lift at the butt cap.
Giving the Grip a Clean Finish
A clean finish is what separates a regrip that looks like a shop job from one that looks like a rush job. Most of the work happens at the handle end, so take your time there.
Trimming off the extra grip
Start by marking a line on the wrap at the handle end so you know exactly where the grip stops. Then unwrap the excess and cut it away with scissors. Cut the end diagonally rather than straight across.
That finishing edge is what the tape will seal down, and it should sit flat instead of standing up in a square lip.
Think of a weekend player who skips the slant: the square end lifts the first time she grips the racket hard, and she’s back to fixing it mid-season.
Taping down the finished end
Before you tape, run your fingers over the wrap and look for lumps or loose spots. Smooth or redo those now, because tape won’t hide a bump underneath. Next, wrap finishing tape around the cut end to hold it down.
If you don’t have any, electrical tape works as a stand-in. The tape keeps the edge from peeling, which is the whole point of this step. Flat edges last.
Once the tape is on, slide the collar back down over the taped end.
A new grip won’t turn you into a better player overnight, but it does take one distraction off the table. When the handle feels secure, you can focus on your footwork, your timing and where the ball is going.
Wrap it slowly, double-check the size before you commit, and don’t hesitate to ask for a second opinion at the shop counter. A good grip disappears in your hand, and that’s exactly what you want.
Find your level
The Counter