Baseball Glove Cleaning Made Simple, Step by Step
Baseball glove cleaning lifts grime while protecting soft leather. Learn how to brush, wash, condition, care for laces, and tell when a pro can restore it.

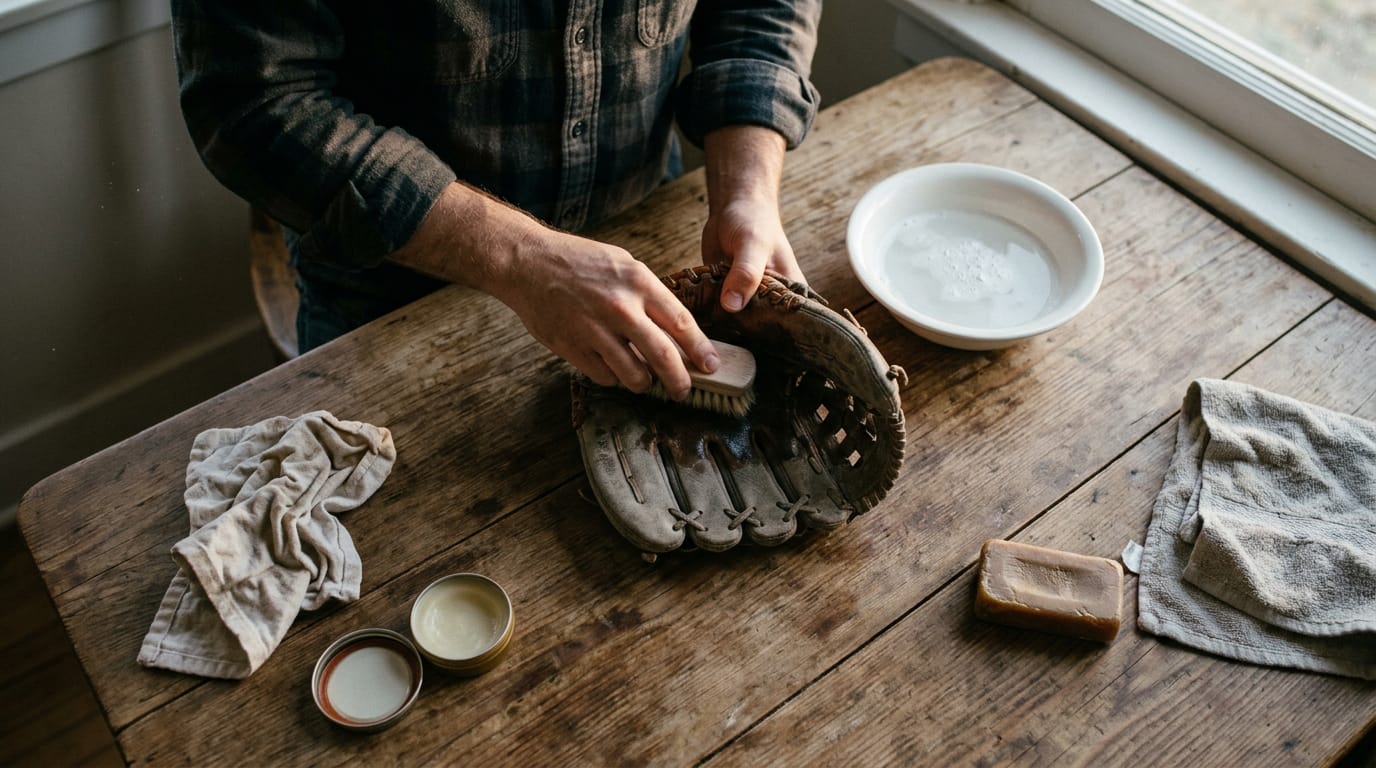
Think about the leather jacket you pulled out of the closet last fall, stiff and smelling like the garage. A glove left in a bag after a sweaty game ends up the same way, with a season’s worth of grime in its pocket.
Cleaning it means lifting that grime off the leather, then restoring the moisture that keeps it soft enough to catch a ball.
You don’t need shop equipment to do this well. We’ll walk through brushing, washing, conditioning, drying, lacing, storage, and restoration, plus when a glove is worth saving and when it’s time to hand it off to a pro.
Baseball Glove Cleaning Starts with the Right Materials
Before you grab a brush or bottle, check what your glove is made of. That decides which products are safe.
Synthetic TPU gloves follow the same steps
TPU (thermoplastic polyurethane) is durable, and the cleaning steps don’t change:
- brush off the dirt
- wipe
- condition
- then let it dry
Picture a Little League parent who finds a grass-stained glove on Sunday night. She follows the same routine she’d use on leather, but she reads the label first.
Check product compatibility before you spray anything. Confirm the label lists your glove’s material, then run a spot test:
- dab a small amount on an inconspicuous area
- wait for it to dry
- check the result
Test small, then treat.
Why household leather products fall short
That bottle of leather conditioner in the garage looks like a shortcut, but it wasn’t made for ball gloves. Household leather products weren’t designed for a pocket that gets soaked and stretched all season.
Too much product can over-soften the leather so the pocket goes floppy, or darken it more than you wanted. Consider a teenage shortstop who spent weeks breaking in a firm pocket. One heavy coat can undo that work fast.
Use glove-specific products. Choose cleaners and conditioners made for ball gloves instead of leather in general. Look for baseball or softball on the label.
Clean Your Glove Step by Step
Cleaning a glove follows a set order: brush, clean lightly, dry fully, then condition. Each step sets up the next, so don’t skip ahead.
Brush off dust and loose dirt first
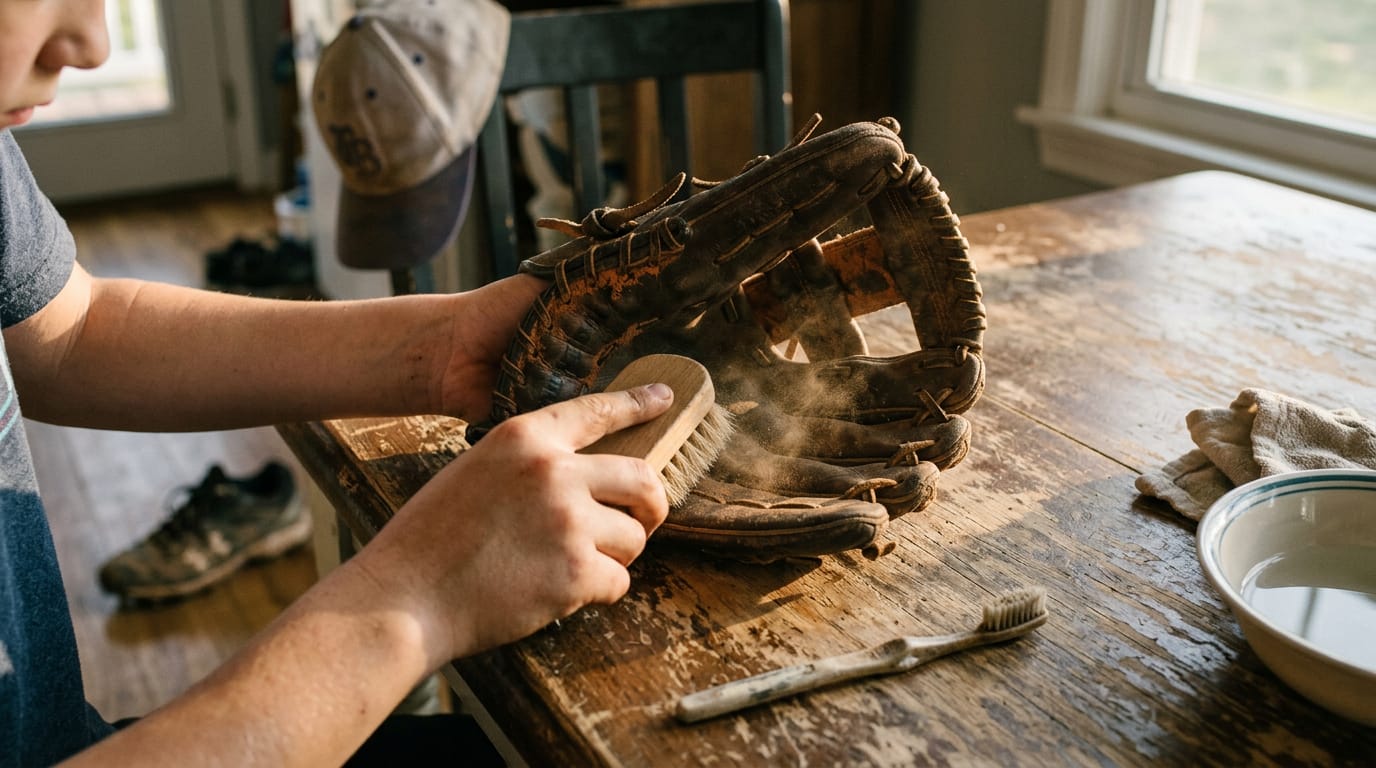
Start with dry brushing. Sweep a soft brush over the palm, pocket and webbing to lift dust, grit and loose dirt. Think of a Little League catcher who tosses her glove in the bag after a muddy game.
A quick brush that night keeps the clay out of the pocket.
A toothbrush reaches the tight spots around the laces and finger gaps. Brush before you clean, not after, since wet grit just smears into the leather.
Apply cleaner lightly and wipe the excess
Dampen a clean rag or small sponge with a leather cleaner. Shaving cream works as a stand-in if you don’t have one on hand. Use sparingly: a little goes a long way, so start with less than you think you need.
Work it into the crevices, laces and finger gaps with small circles. Pick a gentle cleaner, one that cleans without stripping the oils that keep leather flexible.
Wipe away the excess with a dry section of the rag, since leftover cleaner just becomes buildup.
Are baseball gloves washable? Not in the usual sense. Never submerge a glove or toss it in the washing machine, since soaking strips the oils that keep leather supple.
How do you disinfect the inside of a glove? Wipe the interior with a barely damp cloth, then leave the glove open so it airs out, which also helps with odor.
Mold, mildew and stains get the same light touch: brush off what you can, clean gently, and dry fully. If the smell or spotting won’t lift, ask a shop whether repair or replacement makes more sense.
Let the glove air dry completely
Let it air dry naturally at room temperature, and wait until it’s completely dry before you condition. Skip the clothes dryer, radiator and sunny dashboard, since heat and direct sunlight dry leather too fast and leave it stiff.
Think of a parent whose nine-year-old’s glove got caught in a rain delay. Propped open overnight, it’s ready for practice instead of a stiff mitt. For kids’ gloves, a quick routine is enough: brush, wipe, air dry, and repeat after every game.
Why cleaning comes before conditioning
Conditioner only works if it can reach clean leather. Two things get in the way:
- Dirt and sweat break leather. Grime and sweat work into the fibers and wear them down over time.
- Buildup blocks conditioner absorption. Caked-on grime sits on the surface, so the conditioner can’t soak in.
Clean first, condition second.
Conditioning the Glove After Cleaning
Once a glove is clean and dry, it’s time to bring back its suppleness.
Pick a conditioner made for gloves
Not every bottle is built for a baseball glove. Here’s what we’d look for:
- Leather conditioner or oil: a light liquid that soaks into the hide
- Glove salve or lotion: a thicker formula that works into the leather
Skip heavy oils, which can leave the glove greasy. A high-quality conditioner spreads smoothly and soaks in rather than sitting on top.
How to make a baseball glove soft?
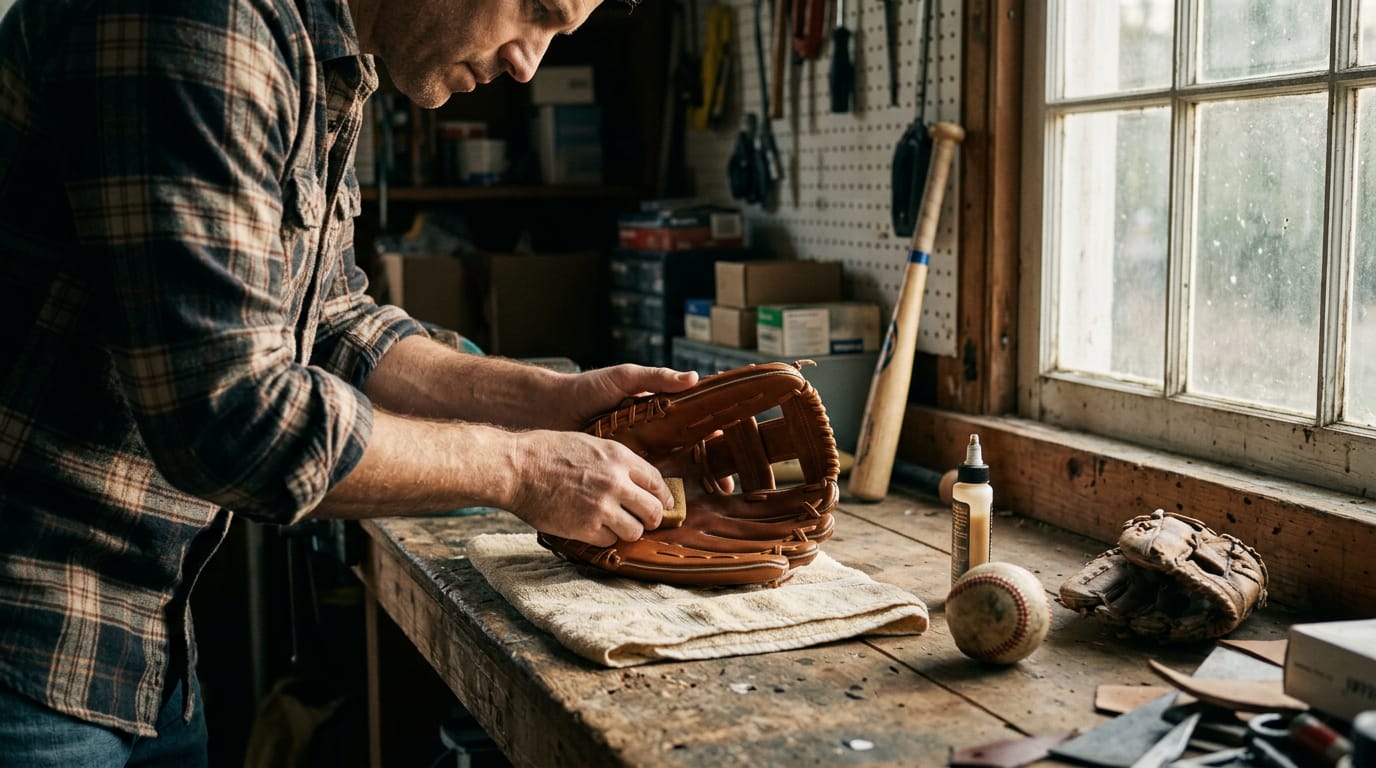
Put a little conditioner on a sponge or soft rag and work it in as a thin, even layer. Cover the pocket, palm, hinge where the glove folds, and laces with a light touch so you don’t soak any one spot.
Apply sparingly rather than generously, since a thin coat soaks in while a thick one just sits there. This keeps the leather pliable, so the glove bends where it should.
Think of a parent prepping a new glove for a 10-year-old’s first practice. One thin coat the night before means it closes on the ball from the first toss.
Softening a stiff glove safely means going slowly: a light coat, gentle flexing, and time to absorb. Piling on product or force won’t help.
Limit conditioning, since too much harms leather
A few conditioning sessions per season is usually plenty. Over-conditioning harms leather, leaving it limp, so supple beats soggy every time. When you feel the glove going dry or stiff, that’s your cue, not the calendar. Restraint wins.
Consider a rec league second baseman who oils her glove every week. By midseason the pocket has gone limp and the ball sinks in instead of sitting up.
Keep the Laces in Good Shape
Laces take a lot of abuse, so they deserve regular attention. Here’s how to keep them clean and flexible, and how to freshen the inside of the glove while you’re at it.
Keep laces clean and swap brittle ones
Wipe the laces down after each game or practice with a dry or barely damp cloth to pull off dirt and dried sweat. Every so often, work a small amount of leather conditioner into them so they stay flexible. The goal is supple leather, not soggy leather.
Check them regularly for stiffness, cracks, or fraying. If a lace is brittle or cracked, replace it before it snaps during a game.
Laces are a common failure point. Consider a middle school shortstop who tosses her glove in the bag after every practice. By midseason, the laces are stiff and gray, and one snaps on a routine grounder, leaving her with a glove that won’t stay closed.
A new lace is a small fix. A whole new glove isn’t.
Untie, reach inside, then retie to fit
Work through these three steps in order:
- Untie the knots so the glove opens wide enough to reach inside.
- Reach in with a clean, dry hand or cloth and wipe the wrist area and the liner, the soft lining that sits against your hand.
- Retie the laces and adjust tension. Snug them so the glove keeps its shape, but not so tight that it can’t open. Check that both sides pull evenly.
Storing, Breaking in, and Restoring Gloves
Simple habits and a little patience keep your glove ready to play.
Where and how to store your glove
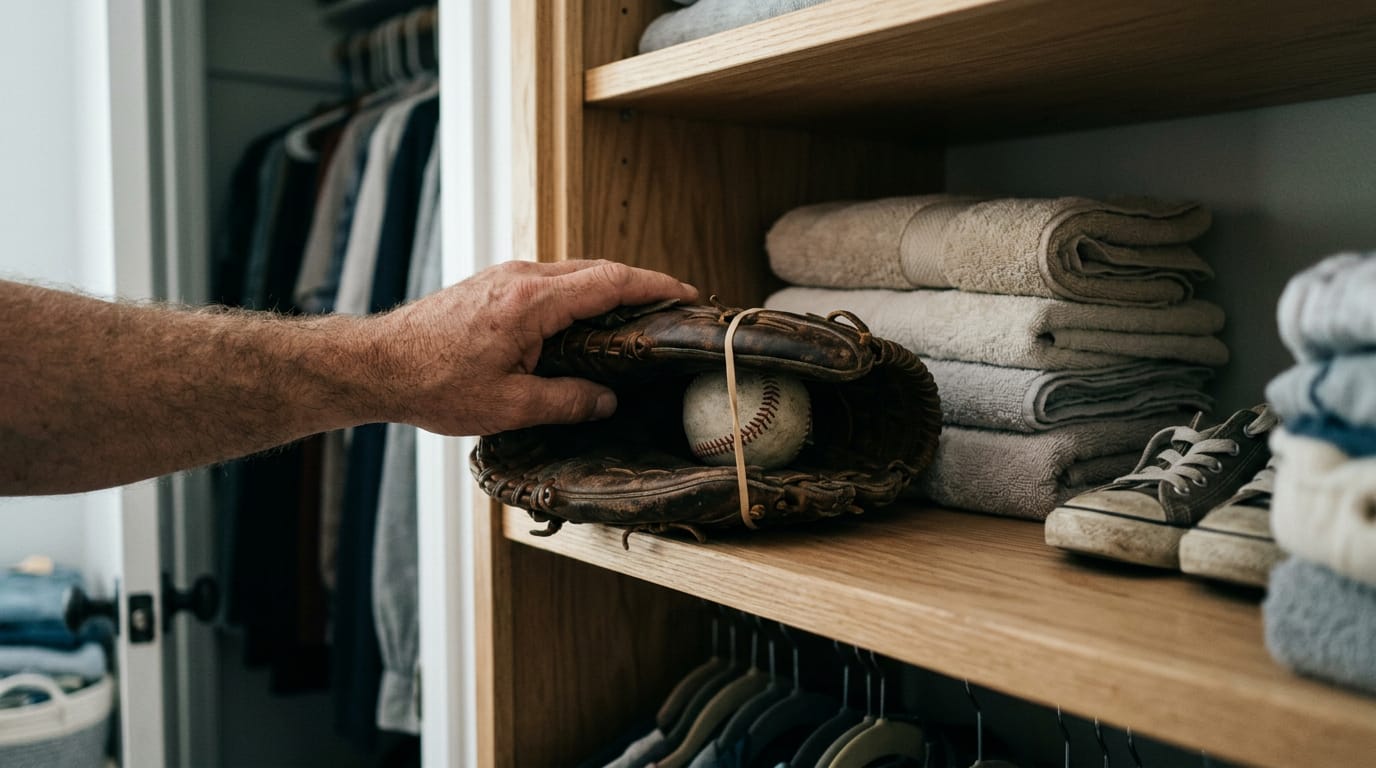
Store your glove somewhere cool and dry, like a closet shelf. Avoid hot cars and damp bags, since heat and moisture both work against leather. Think of a Little League parent whose glove rides in a hot trunk and comes out stiff.
Storage is less about where the glove sits and more about what surrounds it. Tuck a ball into the pocket and keep the glove closed so it holds its shape.
Break in a new glove gently
A new glove is stiff for a reason, so don’t force it. Skip soaking or microwaving, which can wreck the leather. Instead, break it in by playing catch.
Picture a middle schooler who plays catch with her older brother every afternoon, and by tryouts the leather has started to give. Shape the pocket by hand once it’s soft enough, pressing it into a ball shape. Play it in, don’t pound it in.
Revive an old glove or replace it
An old glove is often worth saving, as long as the leather still has life in it. Work through these steps:
- Clean off the dirt, then condition the leather.
- Re-lace any loose or broken laces.
- Reshape the glove by hand so the pocket closes again.
Consider a weekend slow-pitch player who inherited his dad’s glove. A good cleaning and fresh lacing can bring it back for another season. Severe cracking limits what restoration can do. If the leather still flexes without splitting, restore it.
If the cracks run deep and the pocket won’t hold, that money goes further on a new glove. Playable beats pristine.
Let a Pro Handle the Cleaning
Some gloves need more than a damp rag and some elbow grease. When the leather is caked in dirt or the laces have given up, a pro cleaning is the smarter call.
What happens during a pro cleaning
A shop follows a clear sequence, and each step builds on the last:
- Unlace. Opening the glove exposes the hard-to-reach areas where dirt hides and a quick wipe misses.
- Brush and clean. A brush and leather cleaner lift grime off the surface.
- Dry, then condition. Drying comes first, then the leather gets its conditioning treatment.
- Retie and adjust. The laces go back in, get retied, and get adjusted so the glove closes the way it should.
Think of a parent whose son’s catcher’s mitt came home stiff and gritty after a muddy spring. Sending it out gets the glove back with clean leather and snug laces, just in time for the next tournament.
Cost, shipping, and what it can’t remove
The service costs $74.99, and you can bring that down with a discount when you add a relace to your order. Shipping is mail-in: you get a label, pack up the glove, and send it off.
Plan on a 5-10 day turnaround, so it’s not a last-minute fix for Saturday’s game.
Here’s the limit to know before you ship. The service is about cleaning and conditioning, not erasing. It doesn’t remove permanent marker, so a name written on the glove in ink stays put. Plan around it.
Taking care of your glove comes down to a simple rhythm: brush off the dirt, clean what’s left, condition the leather, let it dry fully, and store it so it keeps its shape.
It’s not complicated, and sticking with it keeps your glove playable season after season.
When the leather is too far gone, a repair or replacement is the smarter call, and a good shop can help you choose. Good care is quiet work, and the payoff shows up the first time your glove snaps shut on a hard grounder.
Questions
How to make a baseball glove soft?
Apply a small amount of baseball-glove-specific conditioner with a soft rag or sponge, spreading it in a thin, even layer over the palm, pocket, hinge, and laces. Let it absorb and gently flex the glove; avoid heavy coats, force, or heat, which can damage the leather or make the pocket limp.
How to disinfect the inside of gloves?
Wipe the inside of the glove with a clean, barely damp cloth, including the liner and wrist area. Leave the glove open to air-dry fully; avoid soaking it or using heat.
How do I clean a leather baseball glove?
Brush off loose dirt with a soft brush, then use a lightly damp cloth or sponge with a small amount of glove-safe leather cleaner. Wipe away residue and let the glove air-dry completely before applying a thin layer of glove-specific conditioner.
How to properly dry a baseball glove?
Leave the glove open and air-dry it at room temperature until fully dry. Do not use a clothes dryer, radiator, or direct sunlight, as heat can dry the leather too quickly and make it stiff.
Are baseball gloves washable?
Baseball gloves should not be washed by soaking them or putting them in a washing machine. Clean them with a light wipe instead, since soaking can strip the oils that keep leather supple.
What color glove is illegal in MLB?
A solid white glove, or a glove with white markings that distract from the ball, is illegal for pitchers under MLB rules. Pitchers also cannot wear a gray glove, because it can make the ball harder for the batter to see.
What to clean a helmet with?
Wipe a helmet’s interior and exterior with a soft cloth dampened with mild soap and water, then dry it thoroughly. Avoid harsh solvents or cleaners, which can damage the helmet’s shell, padding, or finish; check the manufacturer’s care instructions for approved products.
Find your level
The Counter