Horse Stall Mats for Home Gym Floors, Explained
Horse stall mats for a home gym can protect floors under heavy gear. Get sizing, quantity, costs, setup, odor, and cleaning tips before you buy.

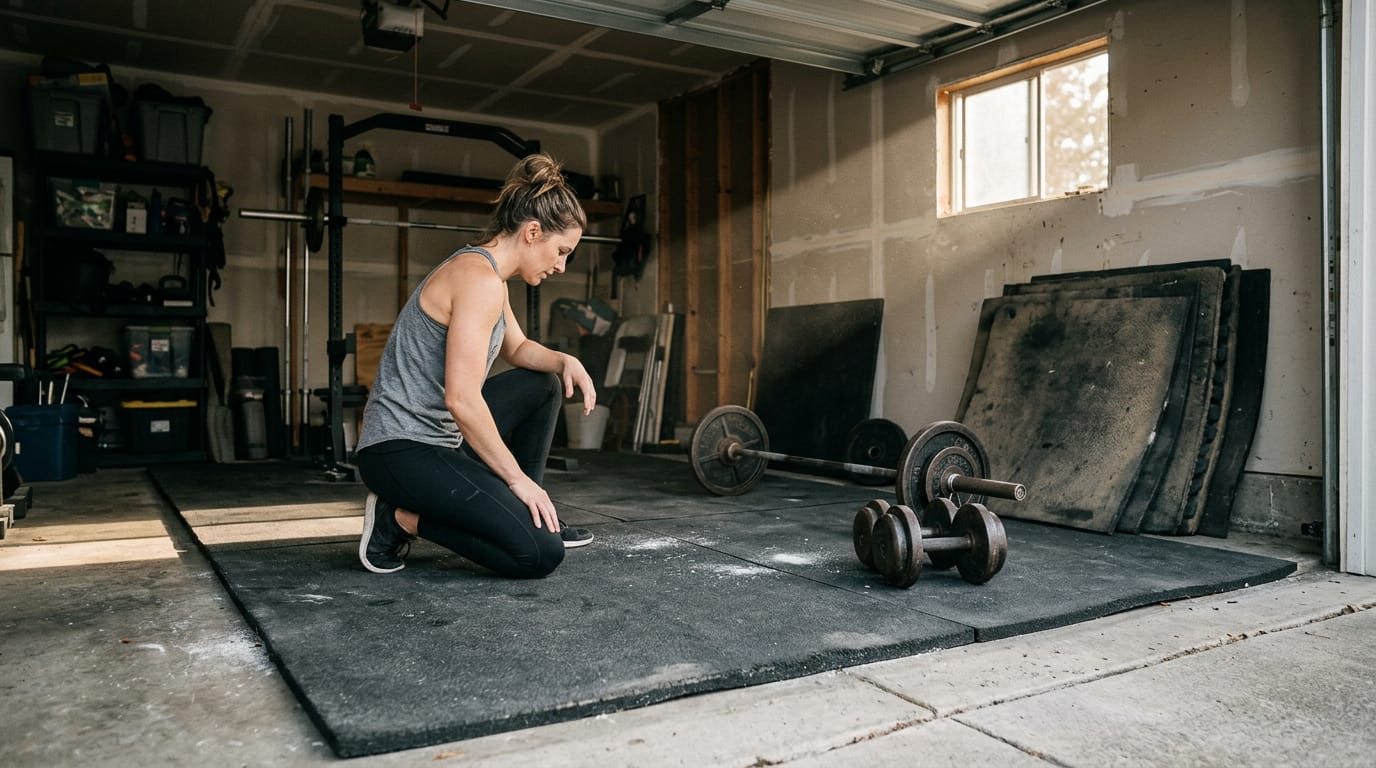
Picture a garage slowly turning into a gym, with a rack in one corner and plates stacked in the other. Floors take a beating in that setup, and horse stall mats were built for barns, where heavy use is the norm.
Here’s the short answer: they can make a practical home gym floor when you pick the right size and set them up properly.
Here, we’ll cover sizing, how many mats to buy, where to buy and what to pay, cutting and laying them down, getting past the rubber smell, and keeping them clean and safe to train on.
Horse Stall Mats for Home Gym Sizes
Sizing decides how much room you’ll need and whether a mat fits your space. Here’s how they measure up against gym mats.
Typical size and thickness of stall mats
Standard stall mats come with these specs:
- Size: 4x6 ft, or 24 sq ft of floor
- Thickness: 3/4 inch
- Weight: roughly 100 lbs each
- Surface: textured or smooth sides
Think of a weekend lifter with a two-car garage bay to fill. Four 4x6 mats give you 96 sq ft of flat floor for squats and deadlifts, which is a lot more room than a single mat. Just remember that 100 lbs is a lot to haul alone, so plan on a helper.
Portable mats and custom options
For a different footprint, a 5’x10’ portable mat is worth a look. Stall mats also come in multiple colors and designs, and custom logo or mat designer options let you personalize the look.
Consider a parent setting up a basement corner for a teen’s off-season training. A 5’x10’ portable mat can fit that footprint, and a custom logo makes it feel like the teen’s own space.
Color changes how the room looks, but thickness and footprint decide how it works.
How stall mats differ from gym mats
A gym mat is the thinner option, at 3/16 to 5/8 inch, versus 3/4 inch for a stall mat. According to a comparative analysis of fitness flooring buildups, gym mats come in a range of thicknesses and may be made from foam or rubber.
Gym mats are also more portable and versatile. They’re easier to move and store, so they’re the flexible pick, while stall mats trade that flexibility for thickness and weight. Know where the mat will live before you buy.
Why Stall Mats Work Well at Home
Stall mats were built for horse barns, not weight rooms, but that’s exactly why they suit a home gym so well.
Holding up to dropped weights and wear
Stall mats are rated for 1,200-pound horses, so they’re built to take serious punishment. Consider a weekend lifter who sets a 45-pound plate down too hard after a heavy deadlift. On a bare garage floor, that drop can chip tile or dent concrete.
On a stall mat, the plate lands and the mat takes the hit.
The mat itself tends to outlast the gym gear on top of it. Damp garages take a toll, too, and stall mats are built to resist both wear and humidity. The goal is a floor that’s durable rather than delicate.
Saving money compared to gym flooring
Stall mats cost about $2 per square foot, cheaper than commercial flooring and without the fitness markup on gym-branded products. You’re paying for function rather than branding.
Consider a parent setting up a 10-by-12-foot garage corner for themselves and their teenager. At about $2 per square foot, that’s roughly $240 in mats. That money can go toward a barbell instead.
Keeping mats still, quiet and comfortable
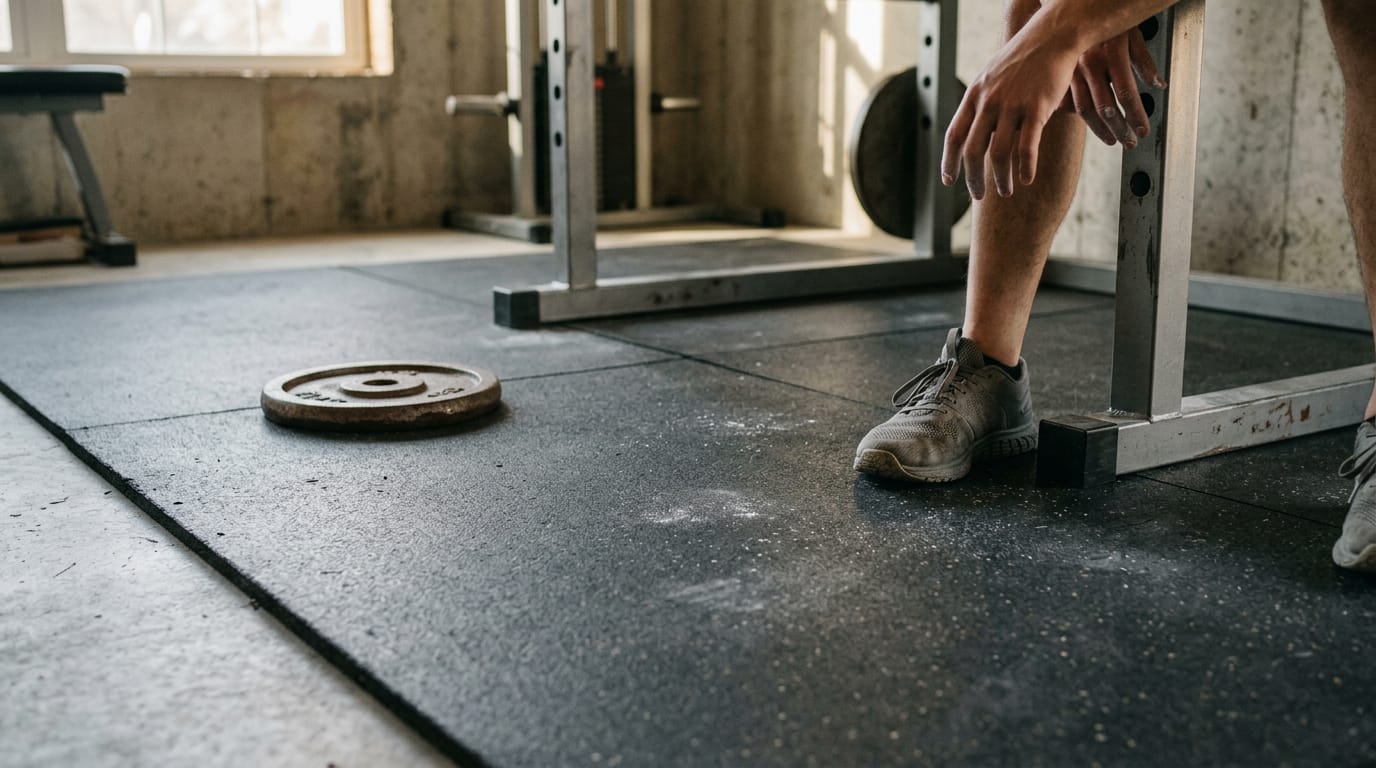
Heavy mats don’t slide, because their weight keeps them planted when you shuffle between sets or step under a squat rack. They also absorb impact noise, which matters when a dropped plate can carry through the floors.
Shock absorption cushions each landing, and the anti-slip surface gives your shoes grip, so footing stays predictable. Stable footing wins.
Made from recycled tires that resist weather
Stall mats are made from recycled tires, which gives old rubber a second life. They also resist weather and ultraviolet (UV) light, so a mat by an open garage door or sunny window still holds up.
The surface is smooth and non-absorbent, so sweat and spills sit on top, and cleanup is simple. Fewer surprises.
Working Out How Many Mats to Buy
Before you order, you need a number. The right count depends on how much floor you’ll cover and how much of it you’ll actually lift on.
Matching mat count to your room size
Start with the space you have. Here’s how common layouts stack up:
- 10x10 room: 5 mats
- Single-car garage: 9 mats
- Two-car garage: 17 mats
Plan for the floor you’ll use, not the total square footage. To estimate cost for each layout, multiply the mat count by the price per mat from your supplier.
Run that number for every size you’re weighing, and the jump from one layout to the next shows up in dollars before you commit.
Covering only the lifting zone to start
You don’t need the whole room on day one. Cover only the lifting zone, the stretch where you’ll squat, press and drop the bar. That’s the part that takes the beating.
If budget is tight, buy 2 to 3 mats and cover just the spot where the bar lands most. That protects the floor under your main station without a big upfront spend.
Think of a weekend club player who’s new to lifting. She starts with three mats in one corner of the garage, trains there for a couple of months, and only adds more once she knows which spot she keeps coming back to.
Starter plan for new lifters:
- Pick one lifting spot.
- Buy 2 to 3 mats for it.
- Train there for a few weeks and note where you actually spend your time.
- Add mats only when you outgrow that spot.
Start small. You can always add more.
Other Options and How to Choose
The stall mats you’re weighing aren’t the only floor option, so here’s how they stack up and how to match one to the way you train.
Stall mats compared to rubber rolls and foam
| Option | Thickness | Cost | Best for |
|---|---|---|---|
| Stall mat | Thick and dense | Compare total price for your floor | Heavy lifting |
| Rubber roll | Varies by product | Compare total price for your floor | Cardio |
| Foam | Soft, compresses under load | Compare total price for your floor | Stretching and yoga |
Stall mats are built for heavy lifting, since the dense build handles dropped plates and gives your feet a steady base. It’s stability over softness once a bar is loaded, so save foam for stretching and yoga.
Rubber rolls suit cardio like burpees and jump rope, where you want grip and some cushion.
Picking a mat for how you train
Start with what you’ll do most, not the occasional session. A few checks make the choice easier:
- Thickness and exercise type. Heavy barbell work needs thick, dense coverage, while bodyweight circuits don’t.
- Long-term value. A mat that lasts a full training cycle beats a cheaper one you replace by spring.
- Eco-friendliness. If materials matter to you, read each listing’s material details, since descriptions vary.
- Lifting style. Frequent heavy lifters should buy for that, while lighter trainers can go with a smaller footprint.
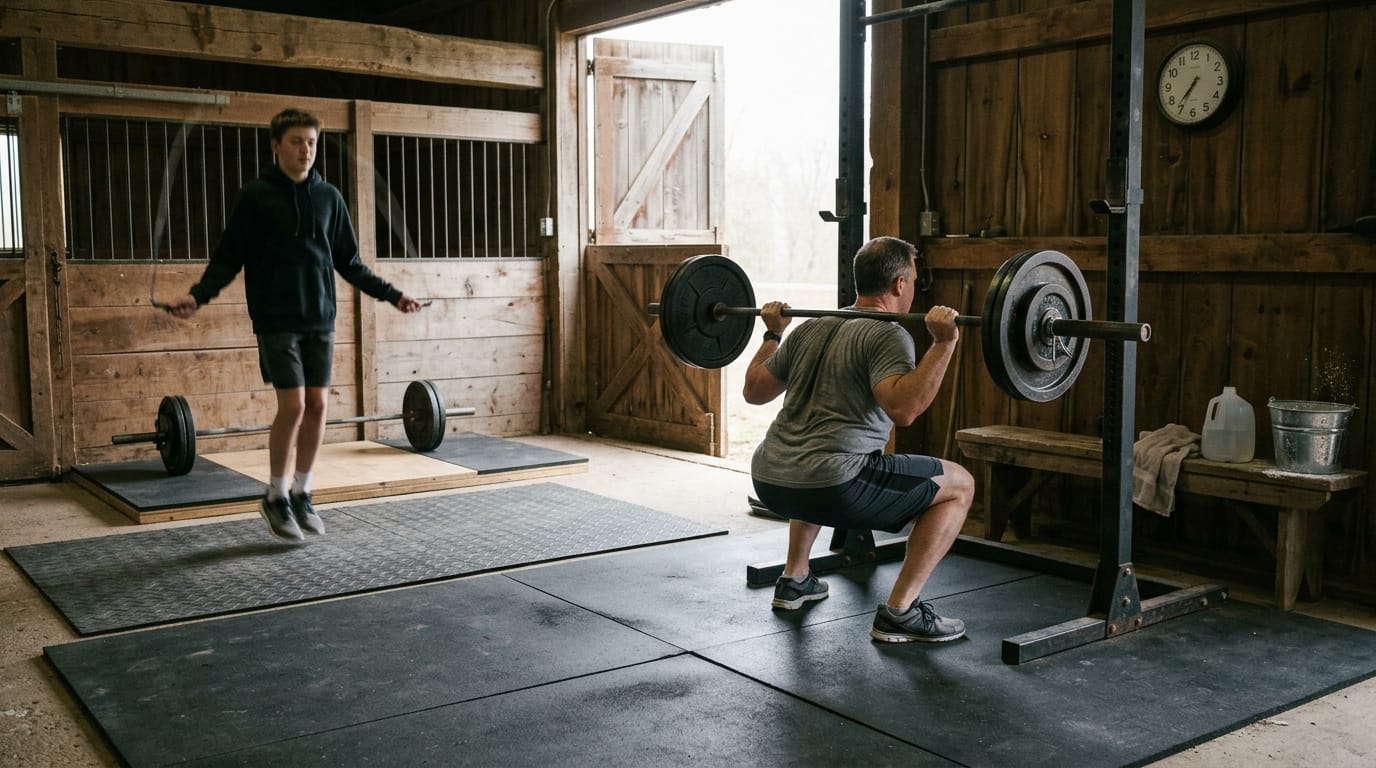
Consider a dad who trains three mornings a week in a converted horse stall. He puts one thick mat under his squat rack, and his teenager uses a rubber roll for cardio. One floor doesn’t fit everyone.
If you deadlift, layer a deadlift platform over the mats. It gives the bar a flat, firm landing zone while the mats underneath still absorb the impact, so check that it sits level before you load it.
Where to Buy and What to Pay
Where you buy a mat shapes both your price and how you get it home, so here’s where we’d start.
Buying at farm and feed stores
Picture a weekend lifter clearing a corner of the garage for squats and presses. A Saturday run to the farm store can get the mat home that same day, as long as your ride can carry it.
Start with Tractor Supply, the go-to for most buyers. Rural King, Farm & Fleet, and Murdoch’s are worth a look if one is closer. Call ahead for stock so you don’t waste the trip.
Mats are bulky, so you’ll need a truck or SUV. A sedan usually won’t cut it.
Shopping online and what to watch for
Online, you’re judging a mat by its listing rather than its feel, so read the specs closely. You’ll weigh three options:
- Amazon mats. Generally thinner and pricier, so compare thickness before you click.
- Interlocking rubber tile. A good fallback if a full roll is more than your space or your vehicle can handle.
- Diamond plate rolls. Another option to weigh against rubber once you’ve checked it suits how you train.
Read the specs twice.
What specialty retailers charge for mats
Consider a lifter who wants one permanent spot for heavy squats and deadlifts. The Dollamur 5x10 mat lists at $474.99, a serious investment for a home floor, so measure twice before you order.
If your space doesn’t match a standard size, ask about a custom quote before you settle.
Cutting and Laying the Mats Down
Cutting and laying the mats is where a home gym floor either feels solid or doesn’t. Rush it and you’ll step around gaps every session.
How to cut mats cleanly
Work for clean edges, not fast ones. Here’s the approach:
- Lay a straight edge along your line and hold it firmly.
- Score the mat with a utility knife in multiple passes instead of one deep cut.
- Budget two or three blades per cut, since a dull blade drags rather than slices.
A circular saw works, but it’s messy, with rubber dust and debris everywhere. Save it for a space you can clean up afterward.
Laying mats over concrete, wood and carpet
Concrete is the easiest base. It’s solid, it’s flat, and the mats sit right on it with no adhesive. Consider a dad setting up a garage bay on an existing slab. He rolls out the mats, butts them together, and he’s ready to lift.
Wood needs a moisture barrier underneath so moisture can’t get trapped. Carpet is the least ideal option. Mats over it carry mold risk, since moisture builds up where you can’t see it.
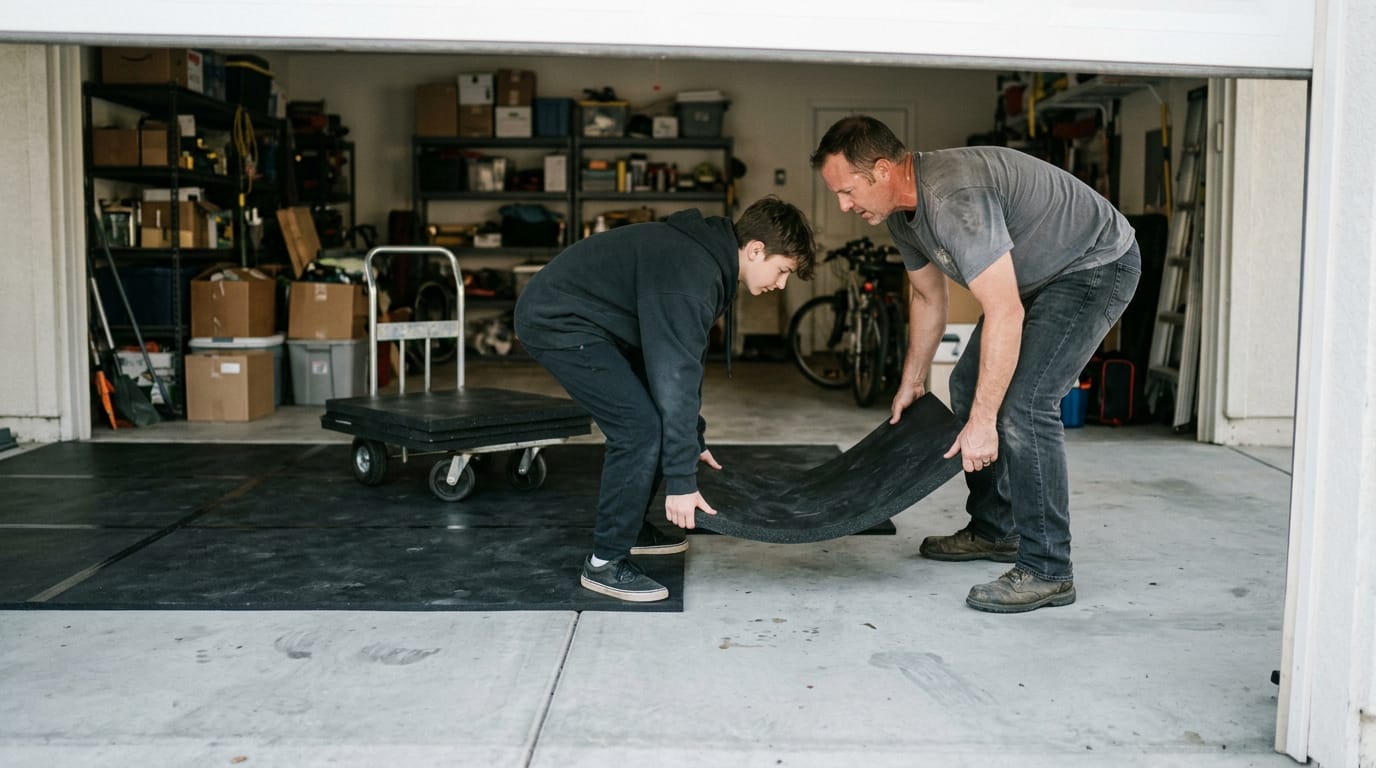
Radiant heat and hardwood each raise their own questions, so check your flooring’s guidance before anything goes down. Each mat weighs 100 pounds, so plan for two people or a dolly when you move them.
Keeping seams tight and mats in place
Push each mat tight against the wall and its neighbor before you call it done. Gaps are the enemy. Once they’re butted together, close any remaining joints with silicone caulk or seam tape.
For stall mats, tape or adhesive keeps the seams from creeping apart. Roll-out or interlocking designs are easier to keep tight at setup.
Getting Past the Rubber Smell
The first thing most people notice when a stall mat comes off the truck is the smell. The good news is that it fades, and you can speed things up. Here’s what to expect and how to cut it down.
How long the smell usually lasts
How long the rubber smell sticks around depends mostly on where the mats live while they air out. Think of a parent who unrolls a set in the garage on Friday so the kids can train Saturday morning.
With the door cracked and air moving, the smell typically fades within 3 to 5 days.
Now picture the same mats in a closed basement. Stale air holds onto the odor, and it can linger for 3 to 6 weeks. If your training space is below ground, plan for that wait.
The smell isn’t toxic. It’s just unpleasant, which makes it a patience problem rather than a safety one.
Ways to cut down the odor
Try these approaches, starting with the easiest:
- Sun the mats. Leave them in direct sun for 3 to 7 days so heat and fresh air can pull the odor out.
- Wash with vinegar. Mix a 1:1 ratio of vinegar and water, wipe the mats down, and let them dry completely before you train.
- Cure them outdoors. If anyone in the house is sensitive to smells, let the mats cure outside so the smell never settles into your living space.
Skip the Febreze and baking soda, since they fail to tackle this odor. The goal is to remove the smell, not mask it. Time and fresh air win.
Keeping Mats Clean and Safe to Use
A few minutes of routine care keeps your mats clean, your floors protected and your home gym safe to use. Here’s what to do, what to skip and how to protect what’s underneath.
Routine cleaning and what to avoid
Think of a dad who lifts three mornings a week in a spare room with hardwood floors. His routine rests on three habits:
- Sweep or vacuum weekly. Clear off grit and dust before it builds up.
- Wipe with mild soap and water. A damp cloth does the job without soaking the mat.
- Inspect seams quarterly. Look for edges that are lifting or opening up.
Don’t reach for bleach, acetone or petroleum-based cleaners. Your goal is a clean mat, not a stronger cleaner. Mild soap does that job, so there’s no reason to reach for anything harsher. Keep it simple.
Protecting your air and your floors
New mats often carry a strong smell from volatile organic compounds (VOCs), chemicals that evaporate into the air. The good news is that VOCs fade after break-in, so open a window or run a fan during those first few sessions.
Hardwood floors need the most watching. Moisture can get trapped under a mat and sit against the boards, so check the floor beneath any mat you use often. Seal the seams so sweat and spills can’t work their way through to the floor.
Rack and machine feet belong on the mats too. Set them squarely on the surface instead of hanging over the edges, and keep the load on protected ground. That same dad sets his squat rack squarely on the mat, so his hardwood stays dry.
Horse stall mats can give your home gym a floor that holds up to real training. Choose the right size and number of mats, buy from a source you trust, and give cutting, laying and airing out the time they deserve.
From there, the mats stop being a project and become the floor you train on every day. The best floor is the one you stop thinking about, because all your attention is on the next rep.
References
Sources
Find your level
The Counter