How to Change a Bike Tire Tube: Step-by-Step Guide
How to change a bike tire tube: use the right tools, check the tire and rim for damage, then fit and inflate a replacement without guesswork.

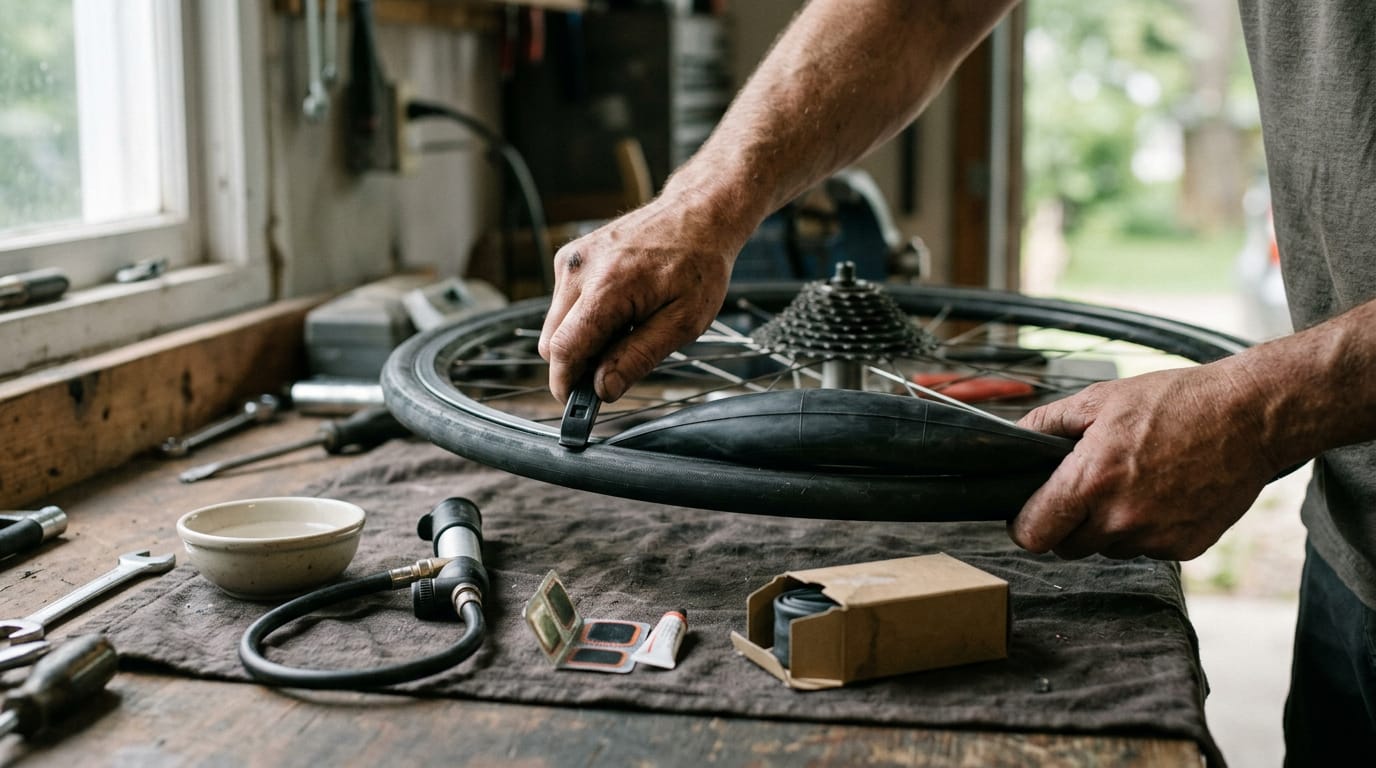
Picture this: you’re three miles into a Saturday ride when the back tire suddenly goes soft. Changing a bike tube feels like a crisis until you’ve done it once.
The tube is the inflatable rubber liner inside your tire that holds the air, and it’s the piece you’ll swap out.
In this post, we’ll cover the tools you need, getting the wheel and old tube off, checking for damage, and fitting and inflating the new tube.
We’ll also answer the common shortcut and no-tools questions and share shop-counter advice on choosing a replacement.
Tools for Changing a Bike Tire Tube
A flat goes a lot smoother when the right gear is already in your bag. Here’s what to pack and how to prep the bike.
Tools and spares to keep handy
- Tire levers pry the tire’s edge off the rim.
- A pump, hand or track (the tall floor model), gets the tube firm again.
- A replacement tube that matches your tire.
- A repair kit for patching the old tube.
- A spare tube lets you swap now and patch later.
Without tools, you can sometimes change a tube by working the edge off with your thumbs, but only on a loose-fitting tire. A tight one needs levers, since a screwdriver can gouge the rim or pinch the new tube.
Think of a weekend rider with a flat a few miles from the car. A spare tube and levers turn a ruined ride into a short pause. Pack it before you need it.
Picking a tube and gear that fit
The right tube matches your tire, not the cheapest box on the shelf.
- Correct tube size: match the size printed on the tire’s sidewall, since a wrong size stretches or pinches.
- Matching valve type and length: Presta valves are thin with a small locknut, while Schrader valves are thicker, like a car’s. Deeper rims need longer valves.
- Quality levers: choose rounded nylon or plastic levers that won’t slice the tube.
- Avoid metal levers on carbon rims: metal can scratch or crack carbon, so swap in nylon.
Get the bike ready to work on
Set up the bike first:
- Release the brakes so the wheel can clear the frame.
- Protect the saddle and handlebars with a towel so they don’t scratch on the ground.
- Turn the bike upside down, or use a stand if you have one.
Getting the Old Tube Out
Getting the old tube out is quick when you work in the right order. Follow these steps and the tube comes out clean, with the valve and tire undamaged.
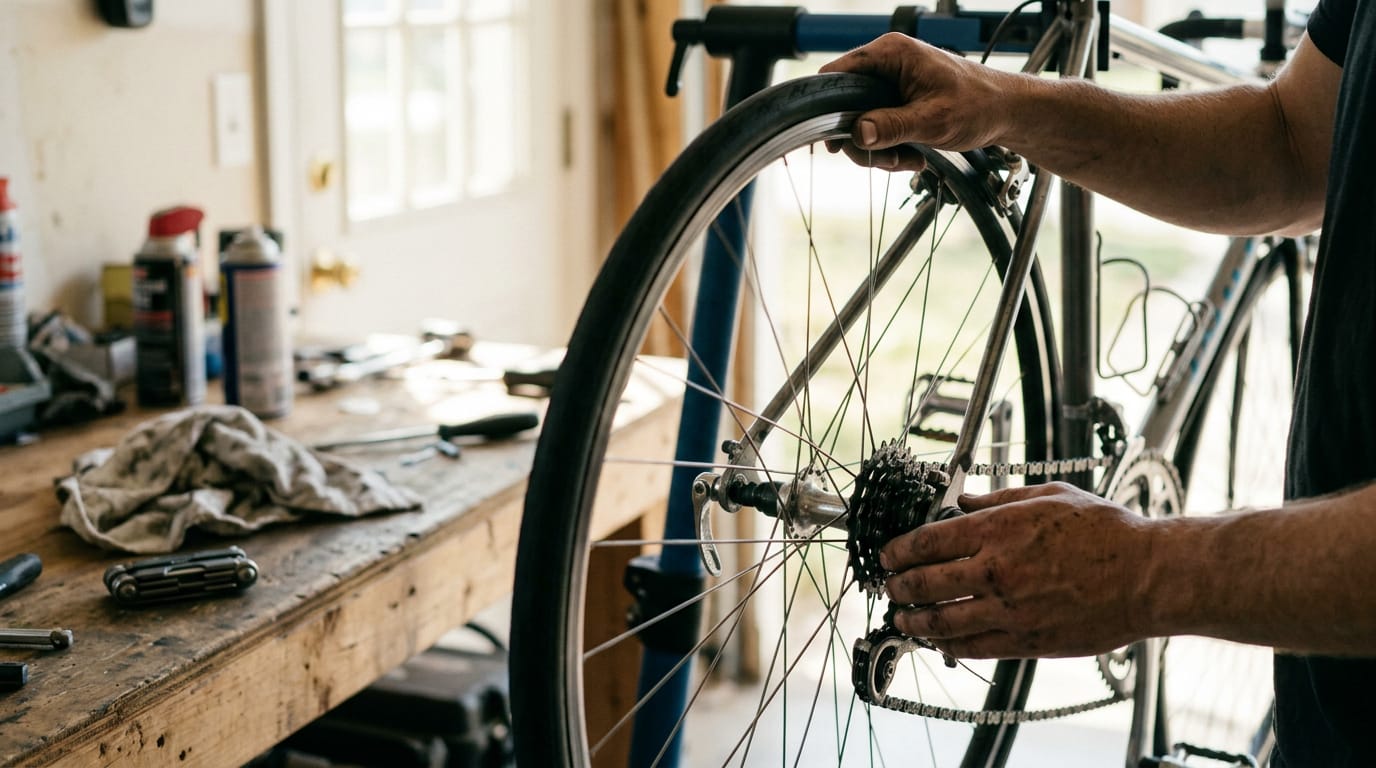
Take the wheel off safely
- Release the brakes first so the tire clears the pads.
- On the rear wheel, shift the rear derailleur (the part that moves the chain between gears) onto the smallest sprocket, the one with the fewest teeth, so the chain goes slack.
- Open the quick-release lever (the hub lever that clamps the wheel) and pull the wheel free.
Can you change your bike tube without removing the wheel? You can, but it’s fiddlier because the frame and brakes get in the way. We’d take the wheel out first.
Deflate the tube and handle the valve
Start by removing the valve cap and the nut on top of the stem. Then follow your valve type:
- Presta valves (the thin ones): Loosen the lock collar, then remove it, the small nut that holds the stem to the rim.
- Schrader valves (the wider, car-style ones): Press the pin in the center to let the air out.
The fastest way to deflate an inner tube is to open the valve fully, press the pin or tip, then squeeze the tire to push out the last air.
Work the tire off the rim
The bead is the tire’s edge that sits inside the rim. Push it into the center of the rim to gather slack, then use your thumb to work it over the rim edge.
Next, slide two tire levers under the bead, hook the first one on a spoke to hold it, and work the second around the rim until one side is free.
Can you change a bike tube without removing the tire? You don’t have to remove the whole tire, but you do need one side free all the way around, or the tube won’t come out. Steady pressure beats brute force every time.
Picture a parent fixing a flat on their kid’s first mountain bike in the driveway before school. With two levers and some patience, they’re rolling again before the bus arrives.
Work the valve free, then the tube
Push the valve back through its hole in the rim so the stem clears the wheel. Pull the tube out gently, not with a yank that can tear it. Patience pays off.
Check the Tire and Rim for Damage
Before you pull out a new tube, figure out why the old one failed. A flat with no clear cause tends to come right back, and nobody wants to fix the same flat twice.
Find what caused the flat
Treat each check as a hunt for the cause, not just the hole. Think of a weekend rider who gets a flat halfway through a Saturday group ride, swaps the tube at the roadside, and rolls on without a second look.
A few minutes later, the new tube is flat too, because the sharp object that caused the first one never left the tire.
- Check for thorns and nails. Run your fingers slowly around the tread and watch for anything poking through, like a thorn, a shard of glass, or a nail head.
- Feel inside the tire casing. The tire casing is the outer shell that holds the tube. Slide your hand along the inside, since a sharp object can get through the tread and stay lodged there.
- Look for cuts or splits. Check the sidewalls and tread for cuts or splits. Small slits are easy to miss, so give the whole tire a slow second pass.
- Check the rim for cracks and sharp edges. Run a finger along the inside of the rim where the tube sits. A crack or rough spot can rub through a fresh tube as soon as you inflate it.
If you keep getting flats in the same spot, you’re dealing with a repeat flat, and it’s a sign that something is still hiding in the tire or rim. Fix the cause, or you’ll be back out here.
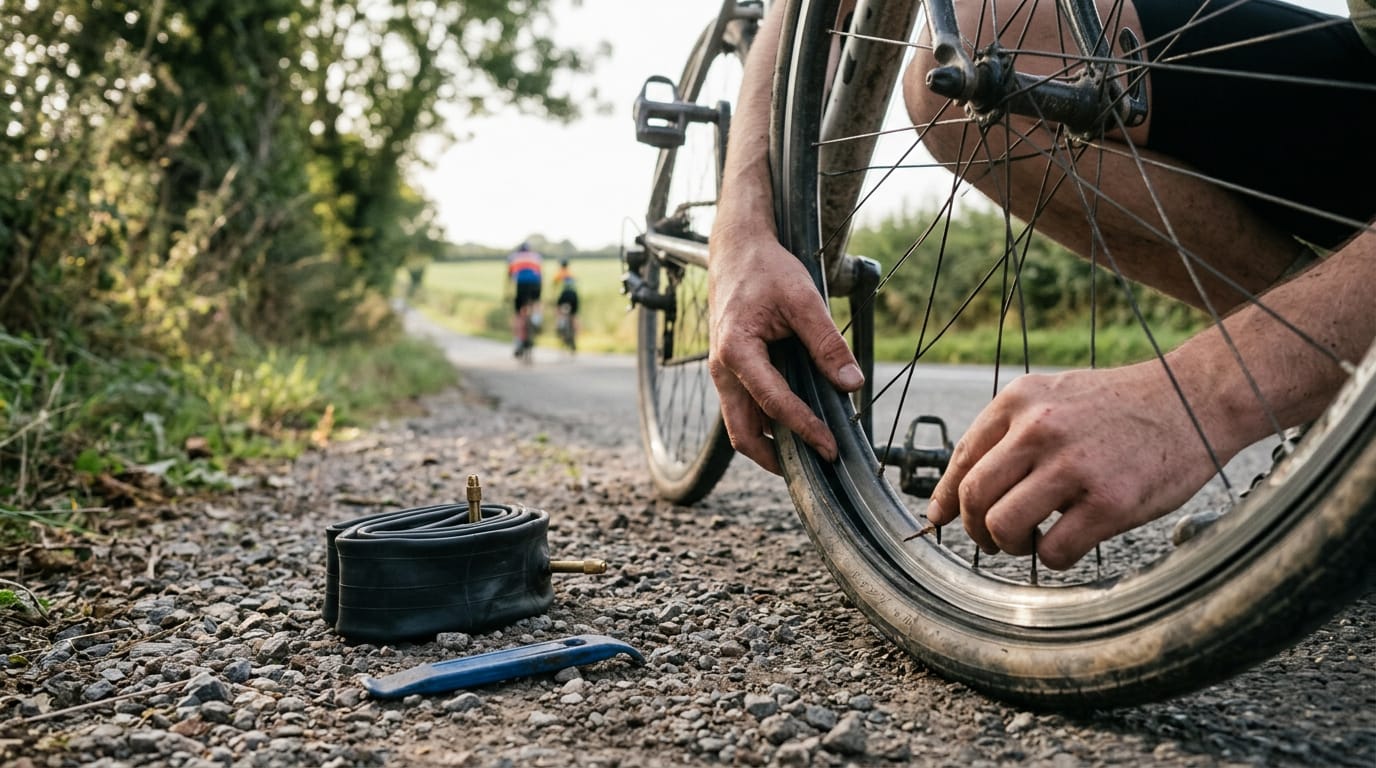
Fit the New Tube and Tire
Now the new tube goes back in, and this is where a quick fix can turn into a second flat. Work one side at a time and go slowly, and the tire will seat cleanly.
Install the tube inside the tire
Line up the tire’s logo with the valve. Partially inflate the tube just enough to give it shape, then push the valve through the rim. Massage the tube evenly into the tire, and don’t twist it as you go, since a twisted tube is easy to pinch later.
Picture a parent fixing a flat on a kid’s bike the night before Saturday’s ride. Rushing the valve step leaves the tube bunched up inside the tire, and the whole job starts over. Slow down at this stage and the kid rides to the park instead of walking.
Get the second side onto the rim
Start opposite the valve and work the bead (the tire’s edge that locks onto the rim) over with your hands. Lean on your thumbs, not levers, for most of the way around.
Levers are only for tight tires, and do the last section by hand so you can feel the bead settle.
Keep the tube from getting pinched
- Keep the tube clear of levers. Never trap it under a lever when you pry the tire.
- Check that nothing is caught. Before you move on, run your hands around the tire to make sure no tube is stuck between the bead and the rim.
- Watch the bead and rim. Keep an eye on where the bead meets the rim as you work, since that’s where a pinch starts.
Slow is faster here.
Air It up and Do a Final Check
Once the tube is in, you’re close, but we’d hold off on riding. A quick check now catches problems before the first hill.
How do I inflate a Presta tire?
To inflate a bike tire with a Presta valve, first loosen the small lock ring near the tip so the valve can move. Then work through these steps:
- Inflate gradually. Pump in short bursts so the tire fills steadily rather than in one blast.
- Check for bulges. Look along the sidewall for any bulge, which can mean a pinched tube.
- Check bead line seating. The bead line is the thin molded line on the sidewall, and it should sit evenly from the rim all the way around.
- Spin the wheel for alignment. Watch the tire run true, without wobbling against the brake pads or frame.
- Secure the lock ring. Once the tire checks out, push the lock ring down against the rim and tighten it.
Picture a weekend rider heading out for a Saturday group ride. Skip these checks, and a tire that looks fine can unseat on the first big climb. Two minutes now beats a roadside repair.
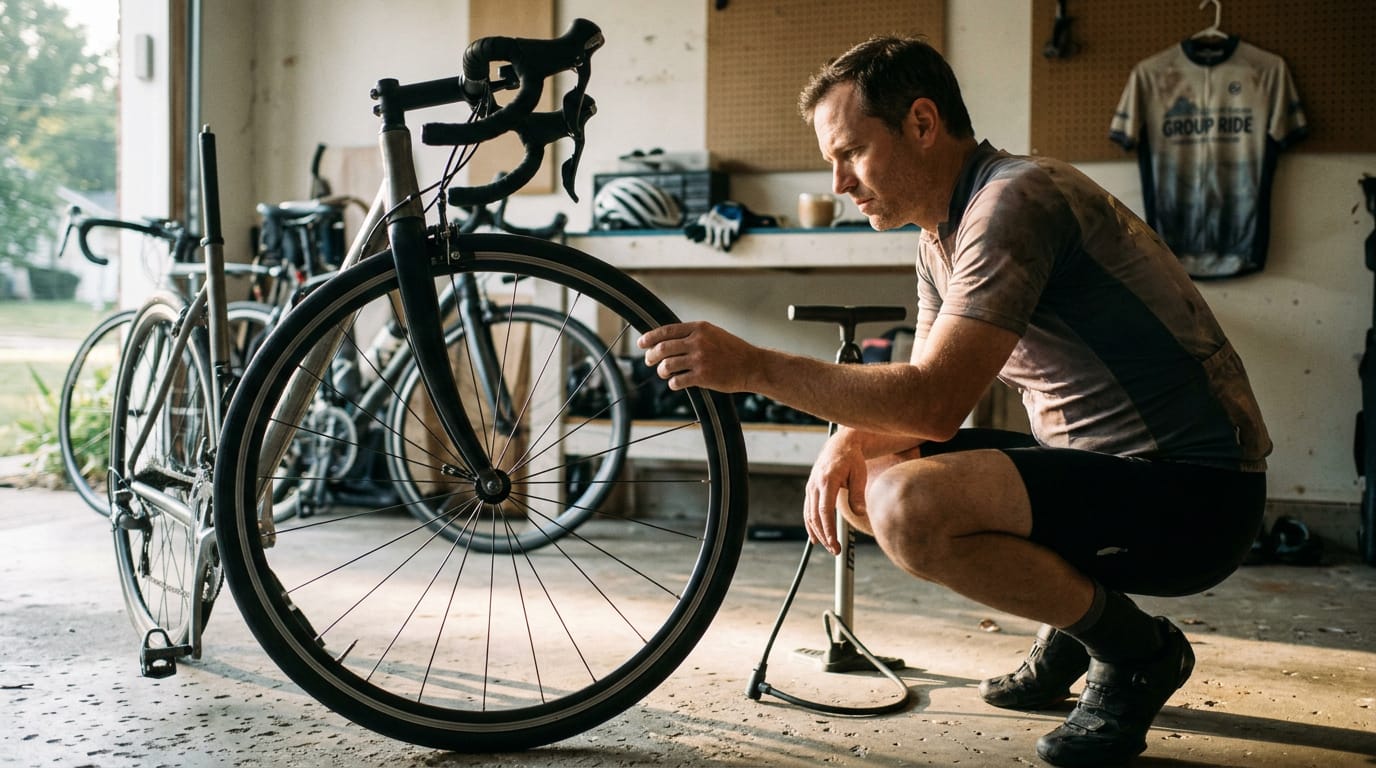
Put the wheel back on and ride
Reinstall the wheel, then check these:
- Relax the chain on the rear wheel. Shift to the smallest rear cog so the chain has slack and the wheel slides in easily.
- Secure the quick-release. Close the lever firmly, with real resistance, and confirm the wheel doesn’t wobble.
- Reattach the brakes. Reconnect any caliper or pads you removed, and line them up with the rim or rotor.
- Recheck tires after rides. Tubes lose air over time, so check pressure again after your first few rides.
Is It Easy to Change a Bike Tube?
Yes, for most riders it’s an approachable job you can learn in one sitting. The tube itself is simple.
The tricky part is working the tire off the rim without pinching the tube against the edge, which causes a pinch flat, a pair of small holes from the tube getting squeezed. Once you’ve done it a time or two, the job gets faster rather than harder.
As for how often to swap one, a tube usually needs replacing when it’s been patched several times, the rubber looks cracked or brittle, or it keeps losing air after a patch.
A single fresh puncture can be patched, but a tube showing those signs should be swapped before it fails on the road.
Extra tips, rentals, and related guides
Think of a parent riding home from a Saturday youth practice with their 11-year-old when the back tire goes flat. A spare tube in the saddlebag turns a long walk home into a quick swap.
- Repair the old tube as a spare. Patch it at home when you have time, inflate it to check for leaks, then tuck it in your saddlebag for the next flat.
- Rental bikes. If you’re on a rental, ask the desk whether they’ll handle a flat before you try a roadside fix on their equipment.
- Related maintenance guides. Browse our other maintenance guides on this blog to keep the rest of your bike in shape between rides.
- Safety disclaimer. Tire work involves tools and high-pressure air. If you’re unsure about a step, or the tire won’t seat evenly on the rim, stop and have a bike shop check it before you ride.
Once you’ve worked through the steps, a flat stops being a ride-ending problem and becomes a quick fix you can handle yourself.
You now know what to gather, how to get the old tube out, how to check for damage, and how to fit and inflate the new one with care.
Keep the right tube and tools on hand so the next flat is a short pause instead of a long walk home. Prepared riders barely think about flats, and that’s exactly the point.
Questions
What is the fastest way to deflate an inner tube?
Open the valve fully, press the valve pin or tip, and squeeze the tire to push out the remaining air. For a Presta valve, loosen the small tip nut first; for a Schrader valve, press the pin in the center.
How do I inflate a bike tire with a Presta valve?
Loosen the small lock ring near the tip of the Presta valve, attach a compatible pump, and inflate the tire gradually. Check that the tire bead sits evenly around the rim and the tire has no bulges, then tighten the lock ring against the rim.
How often should bicycle inner tubes be replaced?
Replace an inner tube when it has been patched several times, its rubber is cracked or brittle, or it keeps losing air after a patch. A single fresh puncture can often be patched instead.
Can I change my bike tube without removing the wheel?
Yes, but changing a tube with the wheel still on the bike is fiddlier because the frame and brakes get in the way. Removing the wheel first is easier; either way, you need to free one side of the tire all the way around to remove the tube.
What tool do I need to change my bike tube?
Tire levers are the main tool for removing a tight tire bead from the rim. You also need a correctly sized replacement tube and a pump; a patch kit is useful for repairing the old tube.
Can you put an inner tube on a bike without taking the wheel off?
Yes. It is possible, but the frame and brakes make the job more awkward than removing the wheel first. You still need to free one side of the tire bead all the way around to take out the tube.
Is it easy to change a bike tire tube?
Yes, for most riders changing a bike tube is an approachable job that can be learned in one sitting. The trickiest part is removing and refitting the tire without pinching the new tube; it gets easier with practice.
Find your level
The Counter