How to Clean a Baseball Glove Without Drying It Out
How to clean a baseball glove without drying it out: remove dirt from the leather and lining, then dry and condition it safely to keep it supple for longer.

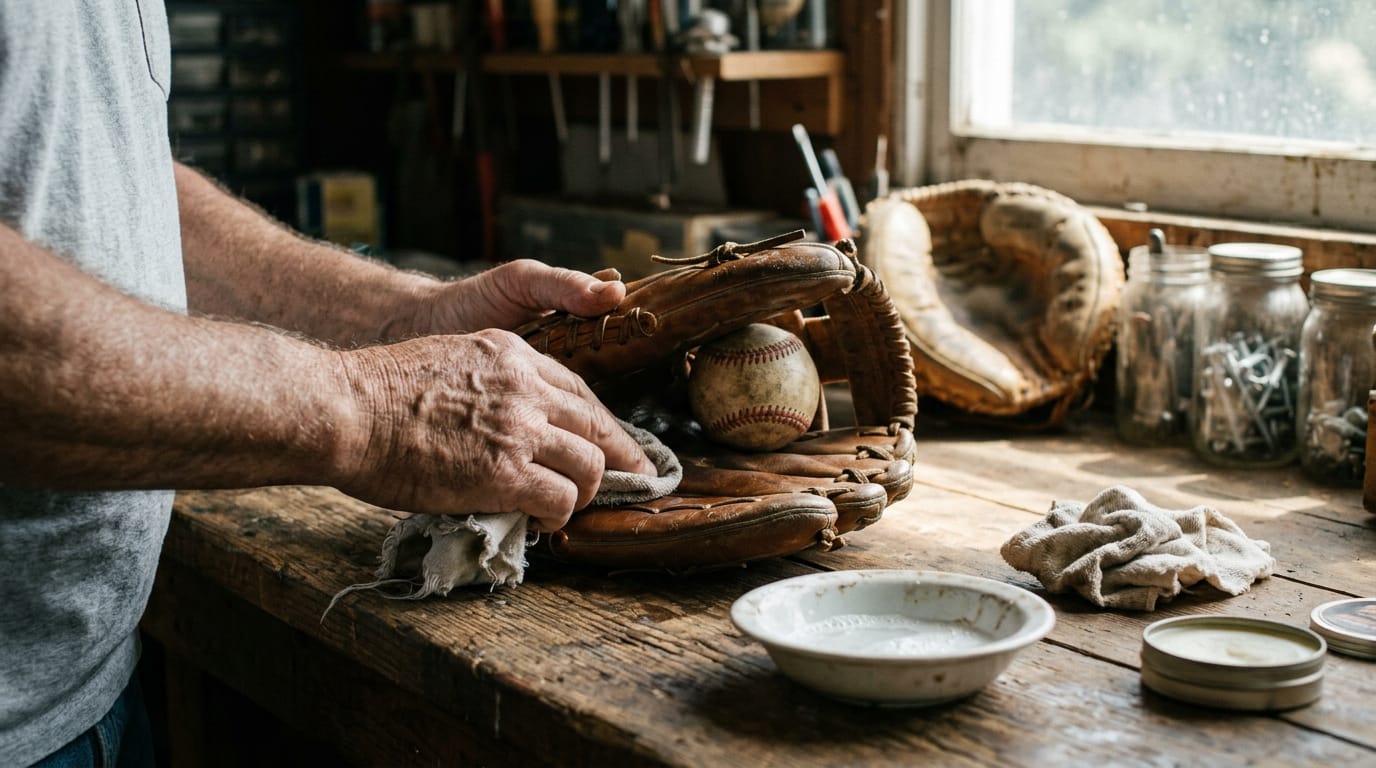
Think about a good leather jacket. Leave it balled up in a damp bag or baking in a hot car and it stiffens and cracks, but a little regular care keeps it soft for years.
A baseball glove follows the same rule. The short answer: a clean, dry, lightly conditioned glove lasts far longer than one that never gets any attention.
In this guide, we’ll walk through cleaning the outside and inside lining, drying safely, choosing the right conditioner, breaking in and storing your glove, plus the signs it’s time to replace one.
How to Clean a Baseball Glove
Cleaning a glove is simpler than it looks. Start dry, use only a little moisture, and check the inside before you call it done.
What you need to clean it
Keep these on hand:
- Mild soap or leather cleaner: plain soap works, and leather cleaner suits leather.
- Soft brush or toothbrush: an old toothbrush reaches the stitching.
- Clean damp cloth: damp is the goal, not wet.
- Glove-specific cleaner products: made for baseball gloves, so there’s no guessing.
- Maintenance kits: cleaners, conditioners and brushes in one box.
Leather and synthetic gloves don’t need identical care, so check the tag before you buy a product.
Brushing out dirt and debris
Picture a softball player who tosses her glove in the dugout bag and comes home with grit in every seam. A few minutes with a dry brush clears most of it before any water touches the leather. Dry first, always.
- Shake out loose debris from the pocket.
- Brush the crevices and stitching, focusing on the seams and laces.
- Finish with a dry cloth wipe-down.
Wiping it down with a damp cloth
Dampen your cloth, add a small amount of soap, and gently wipe the soiled areas. Keep the cloth damp, not soaked, and avoid soaking the leather. Rinse off soap residue with a fresh damp cloth so nothing dries sticky.
So how do you clean the inside of your glove? Dab the lining with a barely damp cloth, adding a tiny bit of soap where sweat has built up. If odor is the issue, focus there, then let the glove air dry before storing it.
How often to clean your glove
- After every use: a quick wipe keeps dirt from setting in.
- Every few weeks: do the full clean, outside and inside.
- Whenever it’s visibly dirty or sweaty: don’t wait for the schedule.
Kids’ gloves need the same routine in miniature. Picture a parent with a nine-year-old on a rec team: a quick wipe in the car after practice takes almost no time, and the glove is ready for the next game.
Keeping the Leather Soft and Supple
Cleaning gets the dirt out, but conditioner is what keeps the leather working for you. Here’s how to use it without overdoing it.
Why conditioning your glove matters
Conditioning does three things for your glove:
- Keeps leather supple. A soft glove closes smoothly around the ball instead of fighting you on every catch.
- Prevents drying and cracking. Keeping the leather flexible helps stop the drying that leads to cracks.
- Extends glove lifespan. A glove that stays flexible lasts longer, so you’re not shopping for a replacement by midseason.
Consider a parent who tosses their kid’s glove into the garage bin after the last game of summer. By spring the leather is stiff, and the kid spends weeks breaking it in all over again.
A little conditioning before storage would have made that much easier.
Applying conditioner the right way
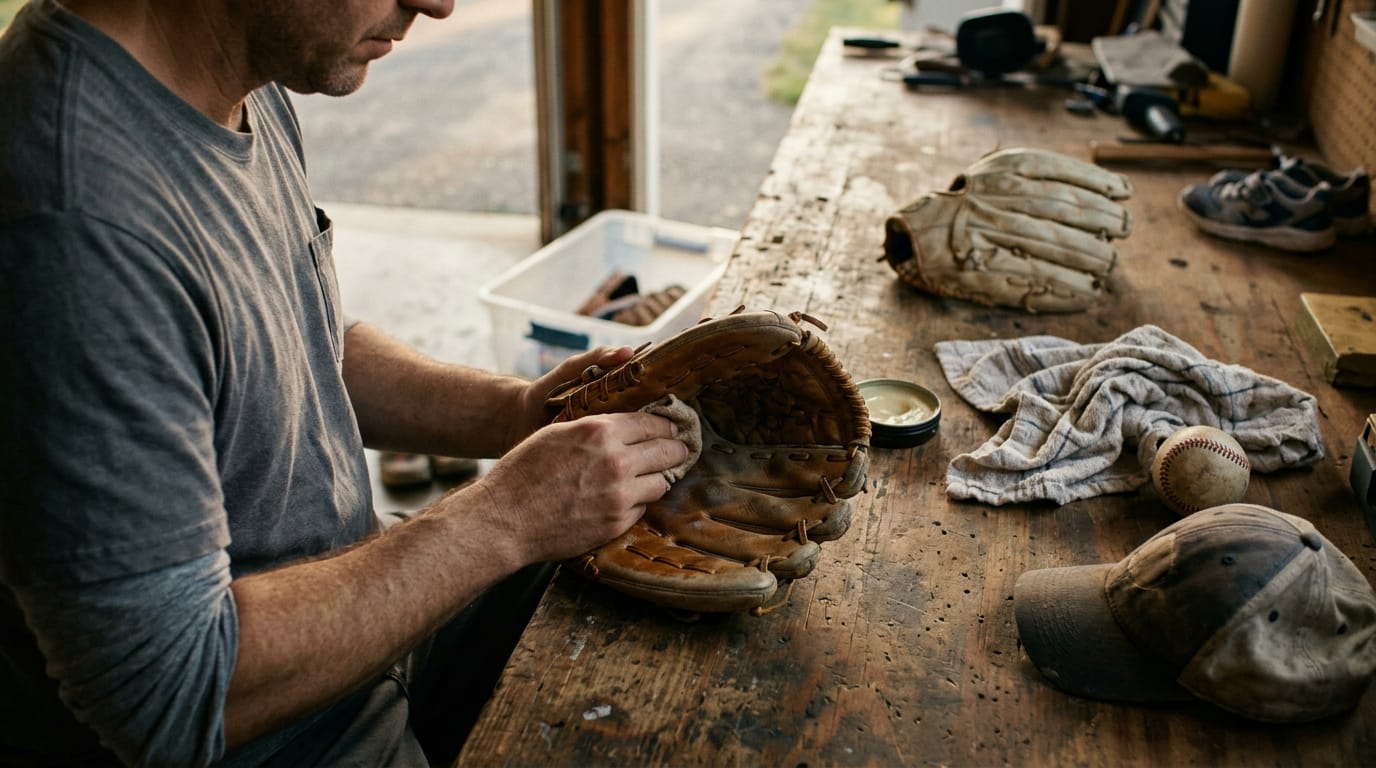
Your glove needs a small amount of conditioner, not a flood. Follow these steps:
- Start with a dime-sized amount.
- Apply it with a clean cloth.
- Focus on the pocket, palm and webbing, the areas that take the most action.
- Optional: work a light coat of oil into the laces.
- Let it absorb, then wipe away any excess.
Don’t over-condition the leather
More isn’t better here, and it’s an easy mistake to make.
- Too much oil makes glove heavy. An oversoaked glove feels sluggish when you’re tracking a fly ball.
- Buildup weakens leather. Layers that pile up work against the flexibility you were after.
- Thin layers preferred. Aim for thin layers rather than thick ones, and let each one soak in before adding more.
- Leather should not feel greasy. If it feels slick to the touch, you’ve used too much, so wipe it back down.
When to condition your glove
- After each deep clean. Conditioning goes right after cleaning, not in place of it.
- When the leather feels dry. Run your hand over the glove. Stiffness or a rough, dry feel means it’s time.
- Schedule by usage level. A player in the field most days needs conditioning more often than a casual weekend player.
- Before and after offseason storage. Condition before the glove goes away for winter and again when it comes out in spring.
Consider a travel ball catcher who plays most weekends from spring through July. Checking the leather before each tournament keeps the glove game-ready, and a final session before winter storage means it’s ready to go next season.
Soft is the goal. Greasy is the warning sign.
Picking Oils, Conditioners, and Alternatives
Not every product on the shelf belongs on your glove. Here’s what to reach for and what to keep away from it.
Oils and conditioners worth buying
A glove-specific oil is the safest starting point. Lanolin-based conditioners are gentle and everyday, while mink oil suits stiff, well-used leather and needs a light hand.
For an old glove that’s gone dry, neatsfoot oil is the traditional pick, but it’s heavy, so use it sparingly. Aim to soften the leather, not soak it.
If you’d rather skip oiling, the main alternatives are a water-based conditioner, which is lighter and easier to work in, and a lanolin-based product for a middle ground.
Household items that can damage leather
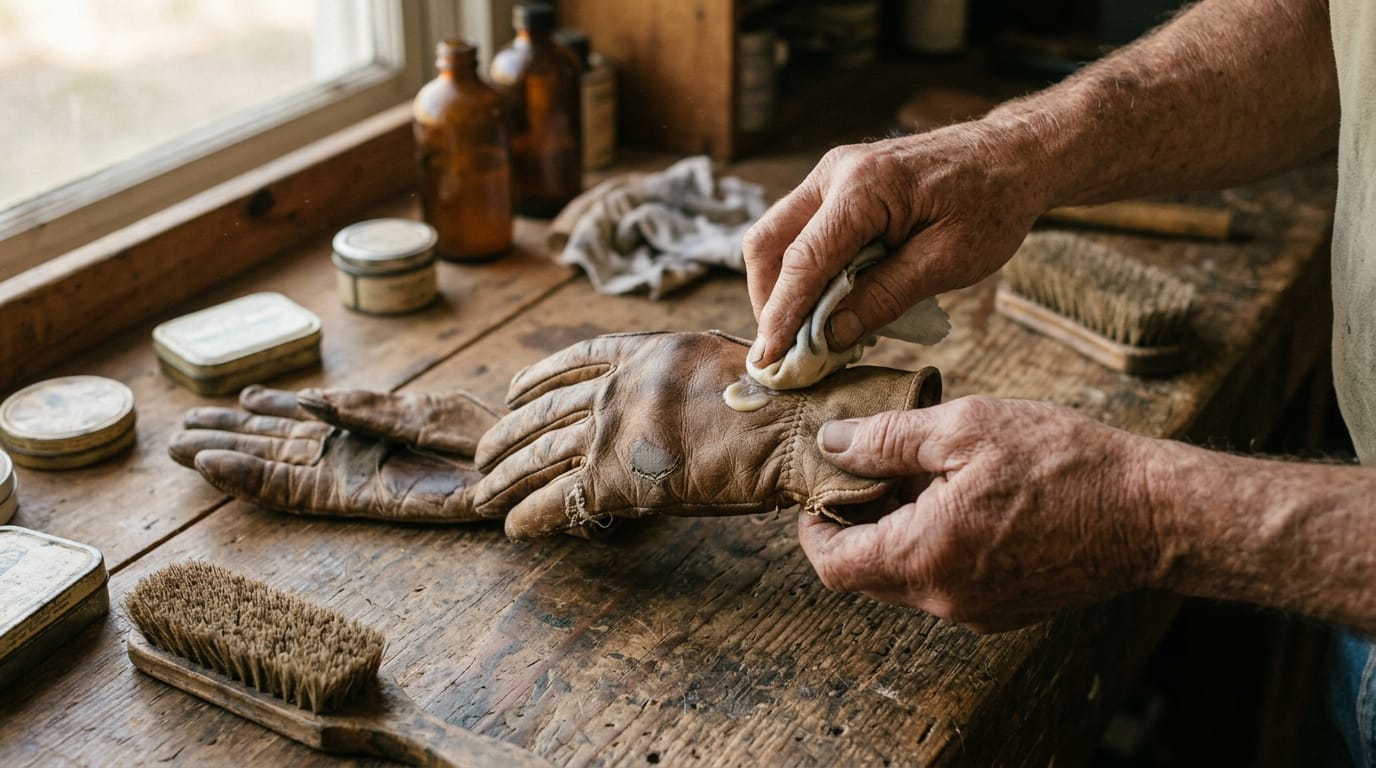
Kitchen and garage products are tempting, but most are wrong for leather:
- Petroleum jelly and motor oil: too heavy and greasy for leather.
- Harsh chemicals: they strip natural oils along with the grime.
- Detergents: dish soap and laundry detergent can dry leather out.
- Olive oil: it can turn rancid and leave a lingering smell.
- Shaving cream: it’s not made for leather and can leave residue behind.
Picture a middle school shortstop who grabs the dish soap the night before tryouts. By Saturday her glove feels stiff, and she spends practice fighting it instead of fielding grounders.
Gloves that need extra care
Restoring a dried-out glove is slow work: apply a few light coats, letting each one soak in before you add the next. Go slow.
A catcher’s mitt needs a lighter touch. Condition the leather shell, but keep product off the padding, which can soak up moisture.
Softball gloves usually respond to the same products, but check the label to make sure it suits your glove’s leather.
Drying Safely and Guarding Against Heat
Drying is where a little patience pays off, and where a quick shortcut can cost you. Here’s how to dry your glove safely and keep heat away from the leather.
Letting it air dry properly
Start by patting the glove dry with a clean towel, pressing gently rather than rubbing. Then let it air dry at room temperature, away from direct sunlight and any heat sources.
The goal is leather that dries slowly rather than quickly, so take your time and resist the urge to speed things up.
Think of an outfielder who tosses her soaked glove on the dashboard after a rainy Saturday game because she’s in a hurry. By Monday practice it’s stiff and hard to close. Ten minutes of patient drying at the kitchen table would have kept it game-ready.
How heat damages leather
Heat is the enemy here, and the danger is easy to overlook. Never leave the glove in a hot car or dry it near a heater. Skip the hairdryer, oven and microwave too, since they’re tempting shortcuts that blast the leather with heat.
Heat makes leather brittle, and brittle leather is harder to bend, so it stops feeling right on your hand. Cool and shaded wins.
Caring for a glove that gets wet
If the glove gets soaked, work through these steps:
- Blot it with a dry cloth.
- Tuck the ball in the pocket while it dries so the glove keeps its shape.
- Hold off on conditioning until the glove is fully dry.
- Keep it away from damp places, where mildew can take hold.
Breaking in and Shaping Your Glove
A new glove feels stiff on purpose, because the leather is waiting for you to shape it. Here’s how to get it game-ready without rushing the job.
Ways to break it in
Four simple habits do most of the work:
- Play catch. Every throw bends the leather where your hand needs it to bend.
- Flex and close it. Work the fingers and web between sessions so they loosen up.
- Tap stubborn spots. Use a glove mallet, a small hammer made for shaping leather, on the areas that won’t give.
- Oil, if you want it. It’s optional. A light touch is plenty.
Shaping a deep, solid pocket
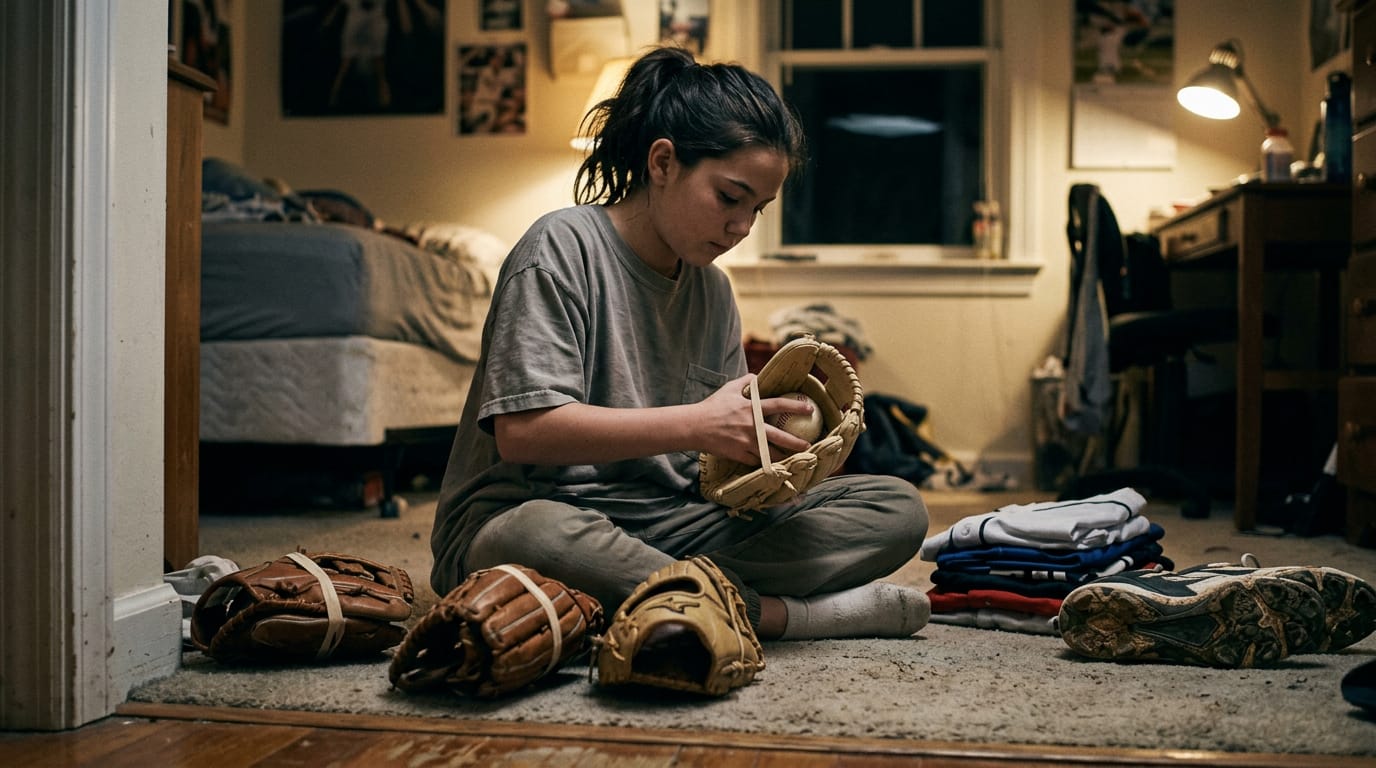
The pocket is the cup where the ball lands, and a deep one keeps the ball from popping out. Think of a twelve-year-old second baseman who gets a new glove the week before tryouts.
Each night she puts a ball in the pocket, closes the glove, and secures it with a band or wrap. Between practices she leaves it shut, so the pocket keeps the shape she’s building. By the first practice, the ball stays put.
Patience and safe break-in shortcuts
Breaking in takes several weeks, and that’s part of the process. Leather needs time to soften and settle into your hand. Your goal is a glove that feels broken in rather than beaten up. Shortcuts can be tempting, but skip these:
- Avoid the oven or microwave.
- Don’t soak the glove.
Patience pays off.
Storing and Maintaining Your Glove
Cleaning gets the dirt off, but storage and checkups decide how many seasons it lasts.
Where and how to store it
Good storage comes down to a few habits:
- Cool, dry place. Heat and dampness wreck leather, so skip the hot car trunk and damp basement.
- Ball in pocket. Tuck a ball in the pocket so it keeps its shape.
- Don’t crush it under gear. Keep it out from under bats, cleats and helmets.
- Glove bag or cloth. Wrap it in a glove bag or cloth to keep off dust and grime.
- Offseason storage. Keep the same routine for the months away from the field.
- Don’t leave it in your gear bag. Sweat, squeezing and forgotten equipment all work against it there.
Checking stitching and fixing small damage
Each time you pull your glove out, run your fingers over the stitching and laces. Here’s what we look for:
- loose threads
- cracks in the leather
- tears in the lining
Catch a tear early and it’s a quick repair; ignore it and it spreads.
Picture a Little League catcher who spots a frayed lace on Thursday. She relaces it that night, so the glove doesn’t sideline her mid-game.
Deep cracks that won’t close, tears that keep spreading, or stitching that keeps unraveling after repairs mean it’s time for a new glove. Some gloves simply run out of seasons.
Rotating between gloves helps them last
If you own more than one glove, rotate them. Each one gets time to dry and rest, which helps it hold its shape.
Consider a teenage shortstop who alternates between a practice glove and a game glove. Both dry fully between sessions, so each keeps its shape longer than a glove worked every day would.
Keeping a baseball glove in shape doesn’t require fancy products or a lot of time. It comes down to gentle cleaning, slow drying away from heat, a light touch with the right conditioner, and a cool, dry place to rest between games.
Do those things consistently and you’ll get more seasons out of your glove, along with a clear sense of when it’s finally time to retire it.
A well-kept glove stops being something you think about on the field and becomes the thing that simply does what you ask.
Questions
What are some alternatives to oiling baseball gloves?
Alternatives to oiling a baseball glove include a water-based glove conditioner, which is lightweight and easy to apply, or a lanolin-based conditioner for a middle-ground option. Apply a small amount in a thin layer and wipe off any excess.
How do I use Rawlings glove conditioner?
Apply a small amount of Rawlings glove conditioner to a clean cloth, then work it lightly into the glove’s leather, focusing on the pocket, palm, and webbing. Let it absorb and wipe away excess; avoid getting conditioner on mitt padding or leaving the leather greasy.
How to clean the inside of your gloves?
Brush out loose dirt first, then dab the lining with a barely damp cloth. Use a tiny amount of mild soap on sweaty or dirty areas, wipe away residue with a clean damp cloth, and let the glove air dry fully before storing it.
How do I remove the old bat grip?
To remove an old bat grip, peel up an edge and slowly unwind it from the handle. If adhesive remains, rub it off with your fingers or a cloth; use a little rubbing alcohol on a cloth for stubborn residue, keeping it away from the bat’s finish and letting the handle dry before applying a new grip.
How many years does a composite bat last?
A composite bat’s lifespan depends on how often it is used, how it is stored, and whether it is damaged. With regular use, many last several seasons, but cracks, rattling, or a sudden change in performance can indicate that it needs to be replaced.
How to get scuff marks off of a bat?
Wipe the bat with a soft cloth and mild soap diluted in water, then dry it. Avoid abrasive pads and harsh chemicals, which can damage the bat’s finish; for stubborn marks, use a cleaner recommended by the bat’s manufacturer.
Is it okay to soak a baseball glove in water?
No. Soaking a baseball glove can damage the leather, make it stiff, and weaken its structure. If it gets soaked, blot it with a dry cloth, shape the pocket with a ball, and let it air dry at room temperature away from heat.
What do MLB players spray on their bats?
There is no single spray used by all MLB players. Players may use pine tar or other grip-enhancing products to improve traction, but the substances permitted depend on league rules; MLB restricts what can be applied to a bat and where it can be applied.
Find your level
The Counter