How to Change Bike Pedals: Complete Step-by-Step Guide
How to change bike pedals without cross-threading: learn which way each pedal turns, remove stuck pedals, install replacements, and check your work.

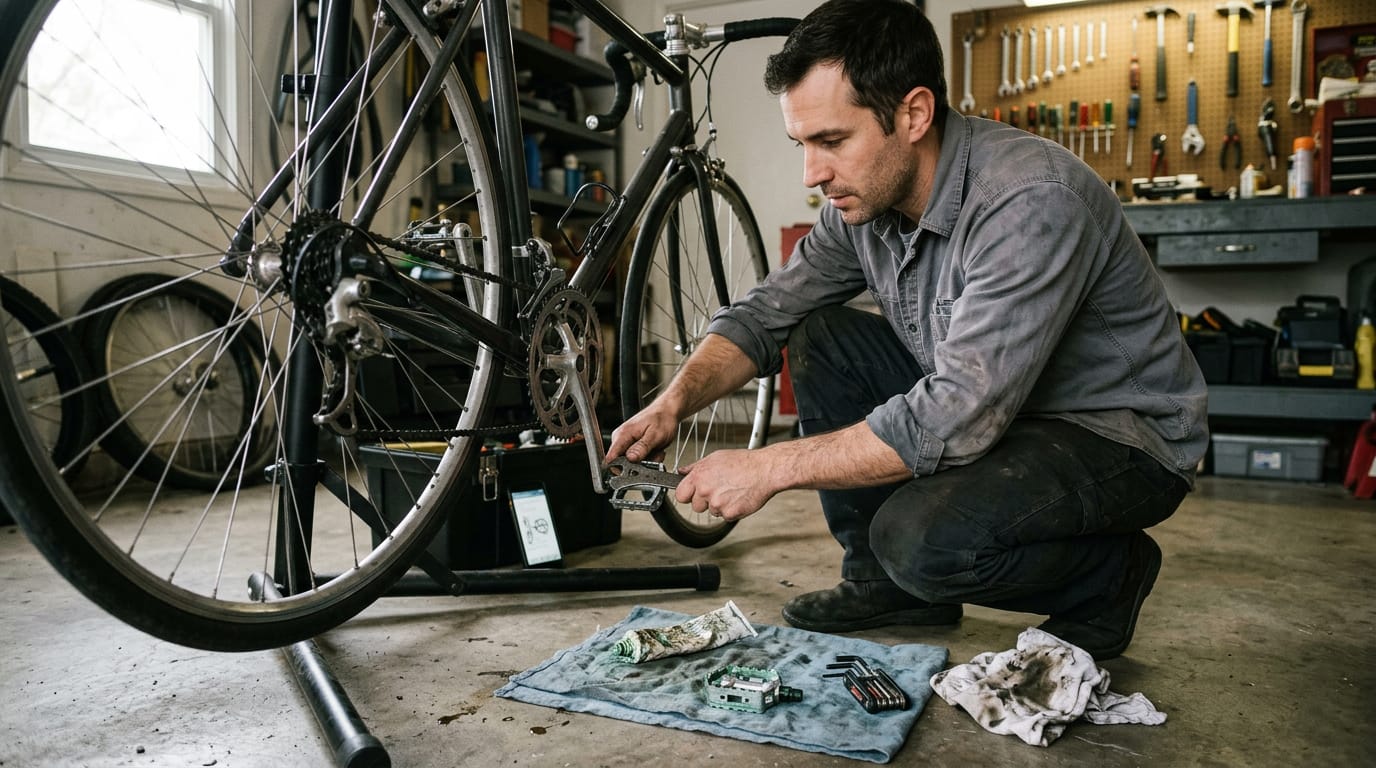
Ever tried to loosen a stubborn bolt, only to feel it refuse to budge or turn the wrong way? Pedals can be like that. Changing them is a straightforward job once you know the threads, the tools, and the order of steps.
This guide walks you through the whole process, from figuring out your pedal thread size to removing the old pedals, installing the new ones, and running a few checks afterward.
We’ll also cover how to handle stuck pedals, avoid cross-threading, and recognize when it’s time to replace them or bring in a shop.
When and How to Change Bike Pedals
Pedals wear out quietly, and a swap is one of the easiest ways to change how your bike feels. Here’s when it’s worth doing.
Reasons it’s worth swapping them out
- Worn bearings or grip. Pedals that feel gritty when they spin, or slippery under your shoe, are telling you it’s time. Consider a weekend rider whose pedals have started to bind on every stroke. A fresh set has them rolling smoothly again for the next long ride.
- Upgrade flat to clipless. Clipless pedals lock your shoe to the pedal with a cleat on the sole, so your foot stays put on rough roads and climbs. They take practice to unclip from, so expect a wobbly first stop.
- Easy home upgrade. A pedal swap is a simple job you can do in your driveway with basic tools, so you don’t need a shop for it.
- Common DIY mistakes. The big one is cross-threading, where a pedal starts crooked and gets forced. If it resists early, stop and back it out rather than muscling it.
- Flat vs clipless: pick by riding level. Flats suit new riders and short trips, since you can put a foot down fast. Clipless suits riders who are comfortable on the bike and want a locked-in connection. The choice depends less on what bike you own and more on how you ride it.
So how much does it cost to change bike pedals? The cost comes down to two things: the pedals themselves and whether you pay someone to fit them. Do it yourself and you skip the labour charge, though you may need a tool or two.
A shop adds that fee on top, so ask for a quote before you book. It’s your time against their fee.
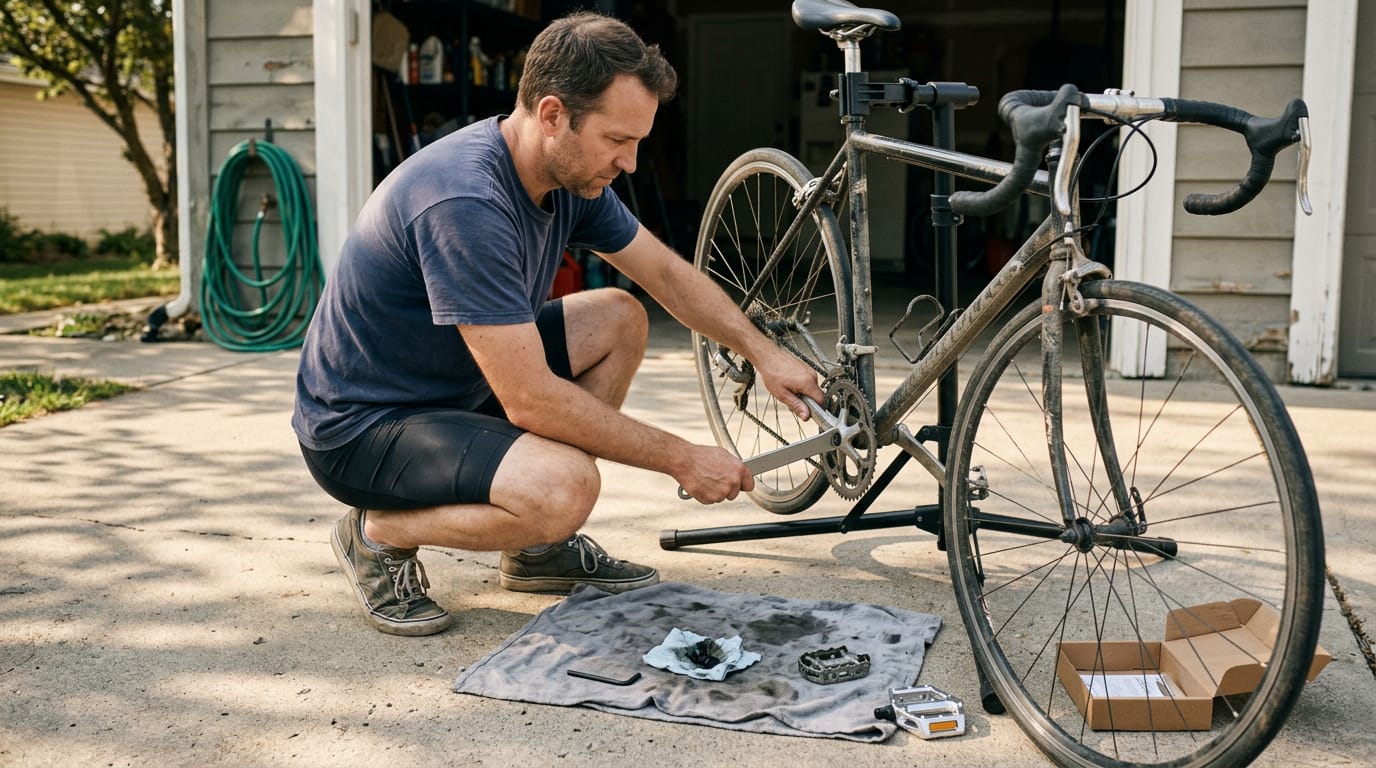
Are All Bike Pedals Reverse Threaded?
Here’s the short answer: no. Only one pedal is reverse threaded, and we’ll look at why below.
How left and right threads differ
The left pedal is reverse threaded, while the right pedal uses standard threads. So the two pedals don’t share a thread direction, and you can’t treat them the same when you remove or install them. The sides also have their own names:
- Drive side: the right side, where the chainring and chain sit.
- Non-drive side: the left side, which doesn’t carry the chain.
Why pedals are threaded in reverse
Pedaling creates forces that would slowly unscrew a standard thread on the left side, so the reverse thread turns that push into tightening. Three reasons drive the design:
- Prevents unscrewing: the left pedal stays put while you ride.
- Precession forces: the spinning crank pushes on the pedal in a way that would otherwise loosen it.
- Risk of stripped crank threads: a loose pedal can damage the threads inside the crank itself, and that repair is much harder than tightening a pedal.
A simple way to remember direction
Use one rule of thumb for either pedal:
- Backward, toward the rear, loosens.
- Forward, toward the front, tightens.
- Applies to both sides: the same rule works for either pedal.
Consider a parent tightening a wobbly left pedal on a kid’s first bike. Turning the wrench toward the front of the bike snugs it up, and a snug pedal keeps the crank threads safe. That’s the whole trick.
What You’ll Need Before You Start
Gather your tools and confirm your thread size before you loosen anything. Most pedals use one of two sizes, and forcing the wrong one can damage the threads.
How do I tell 1/2 from 9/16 pedals?
Try your 15mm pedal wrench on the flats of the pedal axle. A snug fit points to 9/16, while a loose, sloppy fit suggests 1/2. Still unsure? Measure the flats with a caliper. The two sizes aren’t interchangeable, so that minute of checking is worth it.
Here’s your core kit:
- 15mm pedal wrench for gripping the pedal flats.
- Hex/Allen keys in 6mm and 8mm for the smaller bolts you’ll meet along the way.
- Long handle for leverage, so a stuck pedal doesn’t require brute force.
A pedal wrench is slimmer than a standard spanner. It’s built for the tight gap between the pedal and the crank arm, where a regular spanner often can’t reach. Match the tool to the job, not the job to the tool already in your toolbox.
Grease, rags, and thread degreaser
Prep supplies matter as much as the wrench:
- Bicycle grease or anti-seize to coat the threads. Anti-seize is a compound that keeps metal threads from locking together.
- Shop rags for wiping away grit and old grease.
- Degreaser for threads to strip grime before anything new goes on.
Picture a parent setting up a teenager’s new bike before the first practice of the season. A quick clean and a thin coat of grease, not a thick glob, means the pedals come off easily when it’s time to swap them. Clean first, grease second.
Getting the Old Pedals Off
Wondering if you can just take the pedals off to make a balance bike? Yes, pulling them is the first step, and it’s worth doing carefully so nothing gets damaged.
Shift up and protect your hand
Shift the chain onto the big chainring, the largest gear up front, before you touch the pedal. Keep your knuckles clear of those teeth, because a scraped hand makes the job miserable.
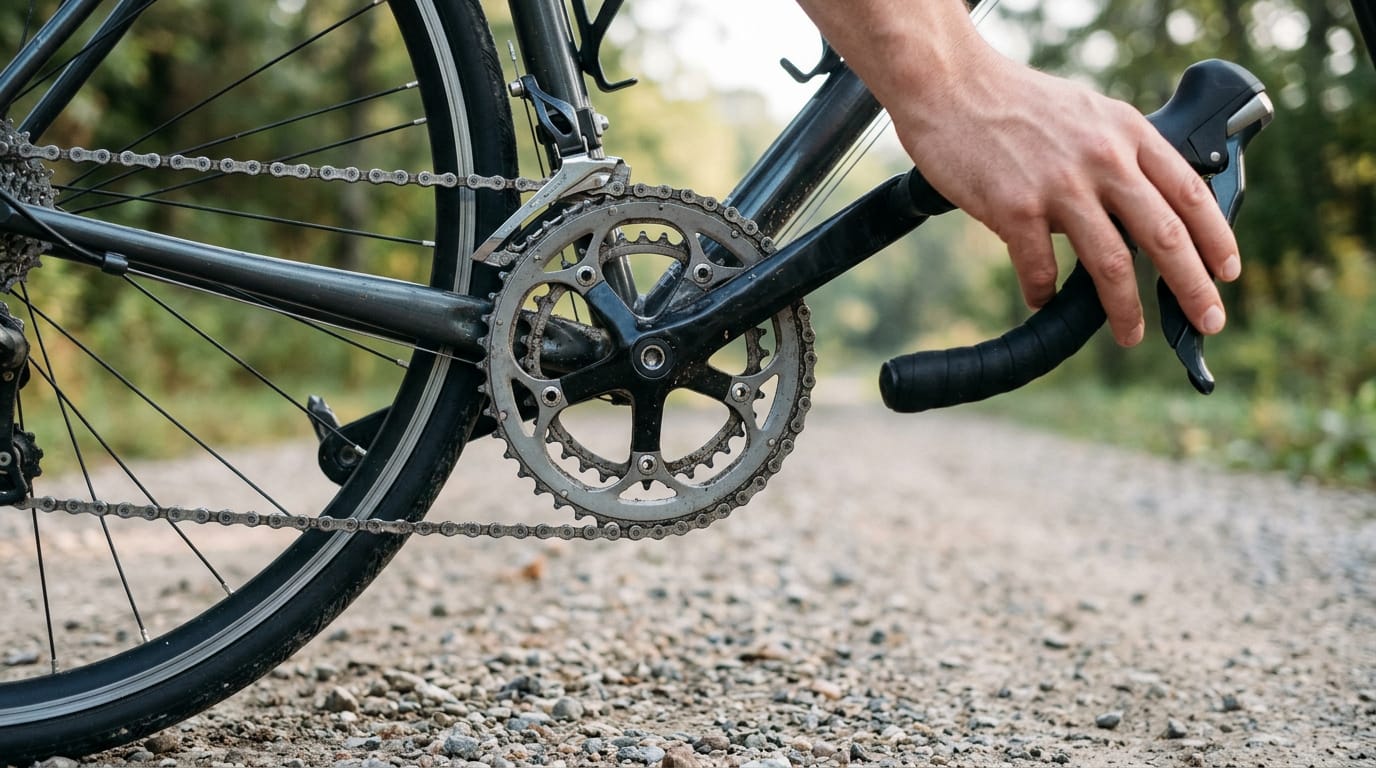
Loosening the right and left pedals
Start with the drive side, the right pedal. Set the crank so the wrench sits level with its handle pointing toward the rear of the bike, then press steadily. The left pedal is the opposite: it turns clockwise to loosen, so you’ll work it the other way.
Think of a dad turning his daughter’s old bike into a balance bike on a Saturday morning. He works the drive side first, then the left, and both pedals come off clean, leaving a frame she can scoot around on. Once she is steady on it, learning how to ride a bike is the obvious next step.
When a stuck pedal won’t budge
A stuck pedal can be caused by galvanic corrosion, where two different metals sit together in the threads and slowly corrode. Press down on the wrench with your foot, letting your body weight do the work instead of your arm.
The crank position trick helps too: rotate the crank until the wrench sits where your weight can push straight down. Steady wins over sudden force. If the crank threads look damaged, or the pedal won’t move after steady pressure, stop.
Forcing damaged threads can make things worse, and that’s the moment to take the bike to a shop.
Putting the New Pedals On
This is where a little care pays off. Get the threads, the sides and the starting turns right, and your new pedals will stay put all season.
Clean and grease the threads first
Start by wiping the crank threads clean so no old grit or rust sits between the metal parts. Then coat the threads on each new pedal’s spindle (the threaded shaft that screws into the crank) with grease. Grit can build up on the chain too, so you may also want to learn how to clean a bike chain.
That thin layer prevents corrosion and seizing, the condition where a pedal fuses to the crank and won’t budge next time. Use a thin coat rather than a gloppy one.
Grease is the usual choice because it protects the threads and still lets you remove the pedals later. Threadlocker, a liquid that glues threads in place, grips harder, but it turns a simple future swap into a fight.
Only reach for it if you never plan to take the pedals off.
Telling left and right pedals apart
Pedals aren’t interchangeable, so check the markings before you start:
- R marks the right pedal.
- L marks the left pedal, which also has a groove on its spindle.
Installing a pedal on the wrong side destroys the threads, and that’s a repair you don’t want. A quick look at the markings now is cheap insurance.
Start threading by hand first
Start each pedal by hand, with no wrench. Turn it gently until it catches the threads and spins freely for the first few turns. If it resists, feels gritty or sits at an angle, back it out and try again.
Forcing it is how cross-threading happens, where the threads jam crooked and damage the crank.
Picture a weekend rider rushing to make a Sunday club ride, reaching for the wrench before the pedal has even started by hand. A few careful turns cost nothing, but a damaged crank can cost the whole morning. Slow starts save threads.
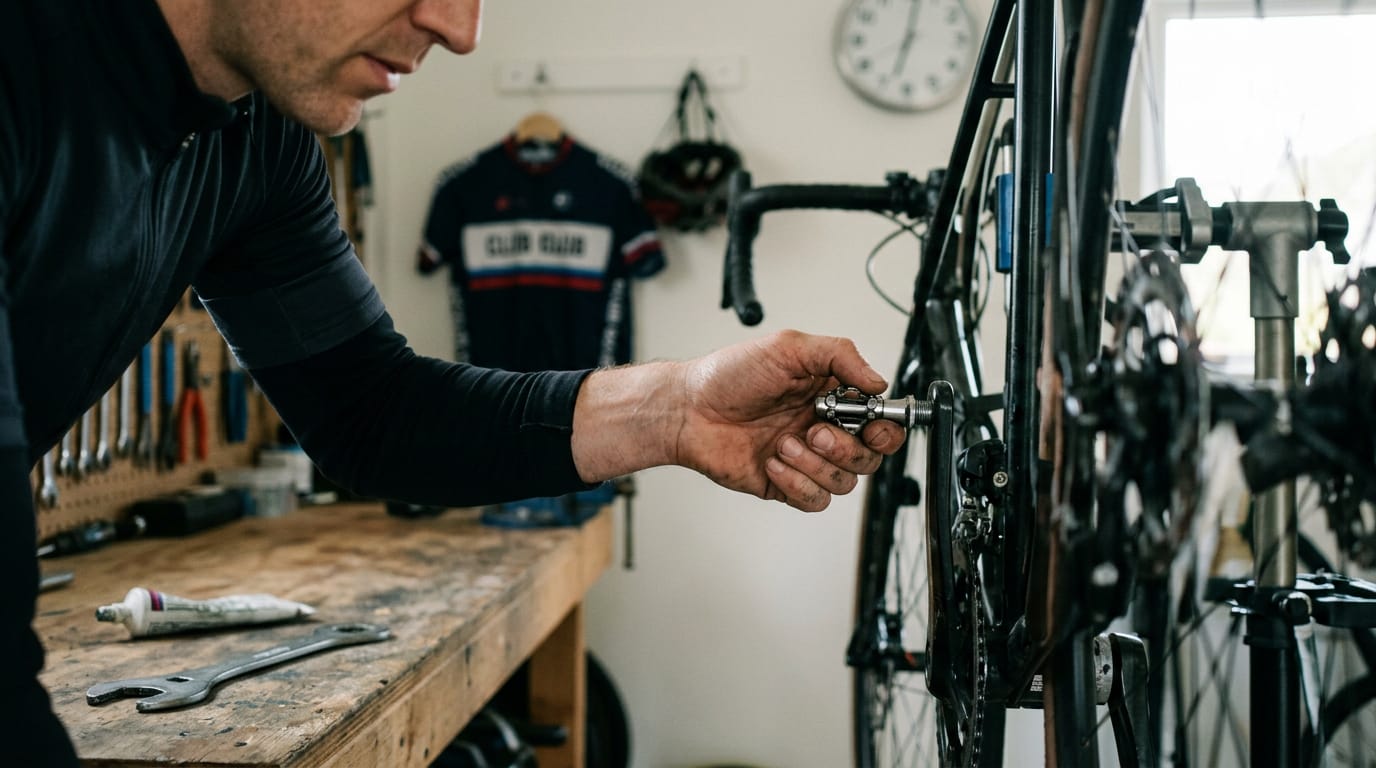
Tightening pedals to the right torque
Tighten with a wrench toward the front of the bike, the direction the wheel turns as you pedal forward. If you have a torque wrench, aim for around 35 to 40 newton-meters (Nm), a measure of twisting force. No torque wrench?
Go for snug rather than cranked: firm, with no wobble, but not hauled down with all your strength. Too loose and the pedal rocks under you; too tight and it’ll be a fight the next time it comes off. Snug beats strong.
Checks to Run After Installing
Your pedals are on, but the job isn’t done until you’ve checked them. A few quick tests catch loose threads and off-center cleats in the driveway, not halfway through a ride.
Testing and rechecking your new pedals
Work through these in order:
- Wipe excess grease. Clean off any grease that squeezed out around the threads so it doesn’t pick up dirt as you ride.
- Spin pedals freely. Turn each one by hand. It should rotate smoothly, with no grinding, rubbing, or wobble.
- Take a short, gentle test ride. Loop the block or a quiet street, and listen for clicks or creaks.
- Test clipless engagement. If you use clipless pedals (the kind that lock into a cleat on your shoe), clip in and out a few times on each side while you’re stopped.
- Recheck tightness after first ride. It’s smart to give each pedal a quick snug with a wrench once you’ve done your first ride.
- Clipless: set cleat position and tension. Line up the cleats so your foot sits naturally over the pedal, then adjust the release tension so you can unclip without twisting your ankle.
Think of a weekend rider who swaps in new pedals on Friday night and rolls out for a Saturday group ride without a test.
Ten minutes in the driveway would have caught a pedal that had worked loose and a cleat set crooked, and that’s a lot cheaper than a tumble in front of the group.
Check how the pedal feels under your hand, not just how it looks on the bike. Test first. Ride second.
Changing pedals comes down to a few habits: confirm the thread before you buy, start every turn by hand, and use the right tools so nothing strips or slips.
If a pedal refuses to move or the threads feel off, that’s your cue to stop and reassess. Sometimes the fix is a new pedal, and sometimes it’s a trip to the shop where someone can take a look in person.
Slow and steady wins here.
Questions
How much does it cost to change bike pedals?
The cost depends on the pedals you buy and whether you install them yourself or pay a shop. Doing it yourself avoids labor charges, though you may need a pedal wrench; ask a local shop for a quote that includes fitting.
How do I tell if my pedals are 1/2 or 9/16?
Try a 15 mm pedal wrench on the flats of the pedal axle: a snug fit usually indicates 9/16-inch pedals, while a loose fit suggests 1/2-inch pedals. If you’re unsure, measure the flats with a caliper; the sizes are not interchangeable.
Are all bike pedals reverse threaded?
No. The left pedal has reverse threads, while the right pedal uses standard threads. To loosen either pedal, turn the wrench toward the rear of the bike; turn toward the front to tighten.
Can I just take the pedals off a bike to make it a balance bike?
Yes. Removing the pedals lets a child push the bike along with their feet, which is the basic balance-bike setup. Remove them carefully to avoid damaging the crank threads, and make sure the exposed crank ends are safe and do not create sharp or snagging edges.
Find your level
The Counter