Washing Soccer Goalie Gloves Step by Step
Washing soccer goalie gloves by hand removes mud without damaging latex; follow drying away from heat and storage steps, then check wear before grip fades.

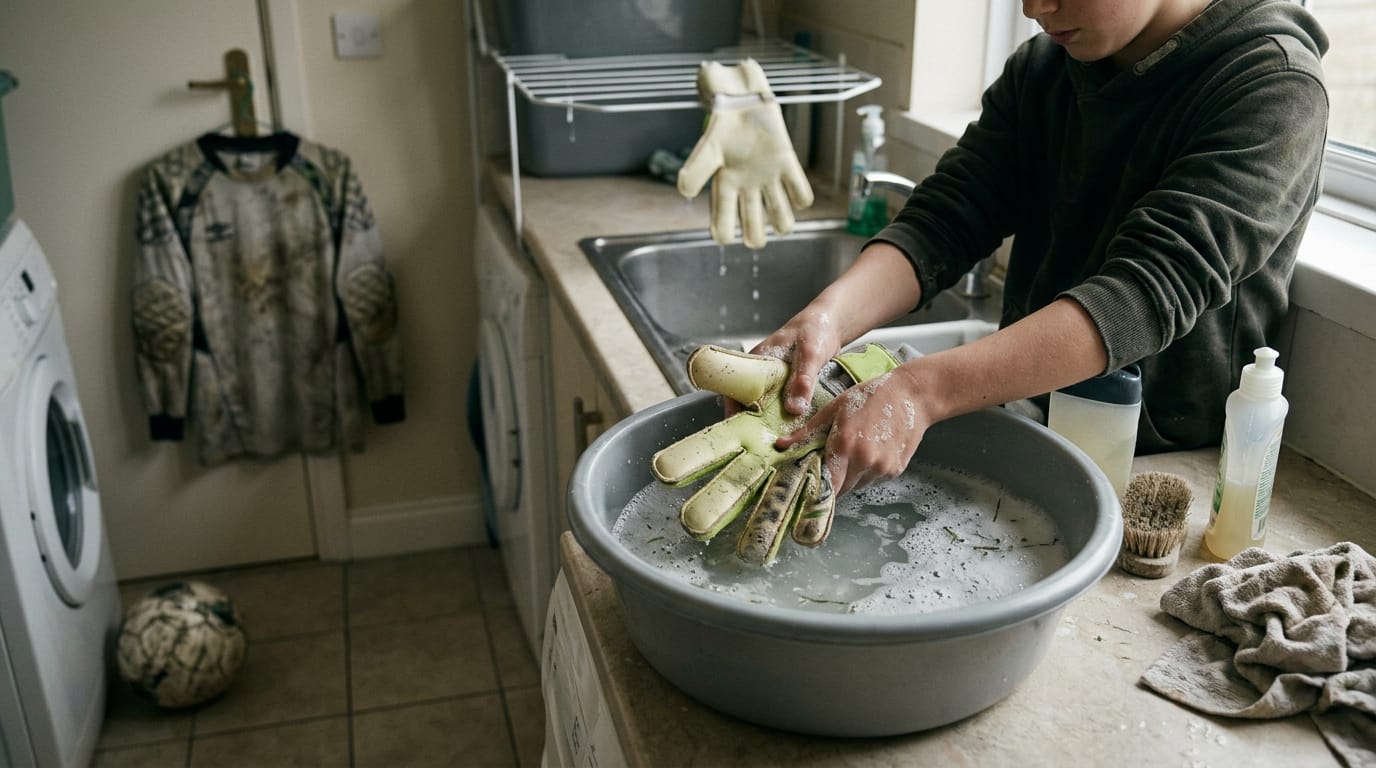
Picture this: you’ve finished a muddy match, your gloves are balled up in the bottom of your bag, and by Tuesday they smell like the locker room and feel stiff. Every dive takes a toll, and a little care afterward keeps them gripping game after game.
The short version: wash them gently by hand, dry them away from direct heat, and store them loosely so they can air out. In this post, we’ll walk through each step, then cover how to tell when your gloves are worn out and how to make them last.
Washing Soccer Goalie Gloves and Their Materials
Your gloves take a beating every session, so cleaning them right matters. Here’s what washing does for them and how to match care to the material.
What regular cleaning does for your gloves
Picture a keeper who trains three nights a week and tosses damp gloves in the bag. By midseason the grip is gone and she’s shopping sooner than planned. A quick rinse after each session would have helped.
Regular cleaning pays off in four ways:
- Better grip. Clean palms hold the ball, which is the performance you paid for.
- Longer lifespan. Grit wears down the material, so cleaning stretches each glove’s life.
- Hygiene and odor control. Washing keeps sweat from building up into a stale smell.
- Saves money. Gloves that last mean fewer replacements.
It’s less about looking new and more about keeping them working.
Care needs for each glove material
Leather, synthetic and hybrid gloves don’t react to cleaning the same way, so the material sets your approach. The latex palm is fragile, so handle it gently. Latex must stay moist, so don’t let the palm dry out completely between washes.
Use a cleaner made for that material, not whatever’s under the sink.
Follow the maker’s care instructions
Start with the care tag or the maker’s website, since those steps are written for your exact glove. Following them also keeps you within the warranty, so you’re covered if something fails early.
Two gloves from one brand can need different care, so check your model, not the brand’s general advice. Read the tag before you reach for the washer.
Prepare Gloves Before You Wash Them
Before any soap touches your gloves, a few quick steps set them up to clean, dry and grip well.
Washing brand-new gloves before first use
New gloves carry manufacturing preservatives from production, and you’ll want those washed out before the first save. Rinse them, then gently work the wet latex palms to help the latex activate for grip. Let them air-dry naturally before you wear them.
Consider a club keeper who unboxes a new pair the night before Saturday’s match. A quick rinse, some palm work and an overnight dry mean the gloves are ready to grip the first shot.
A second pre-wash is optional, so you can skip it if the first one did the job.
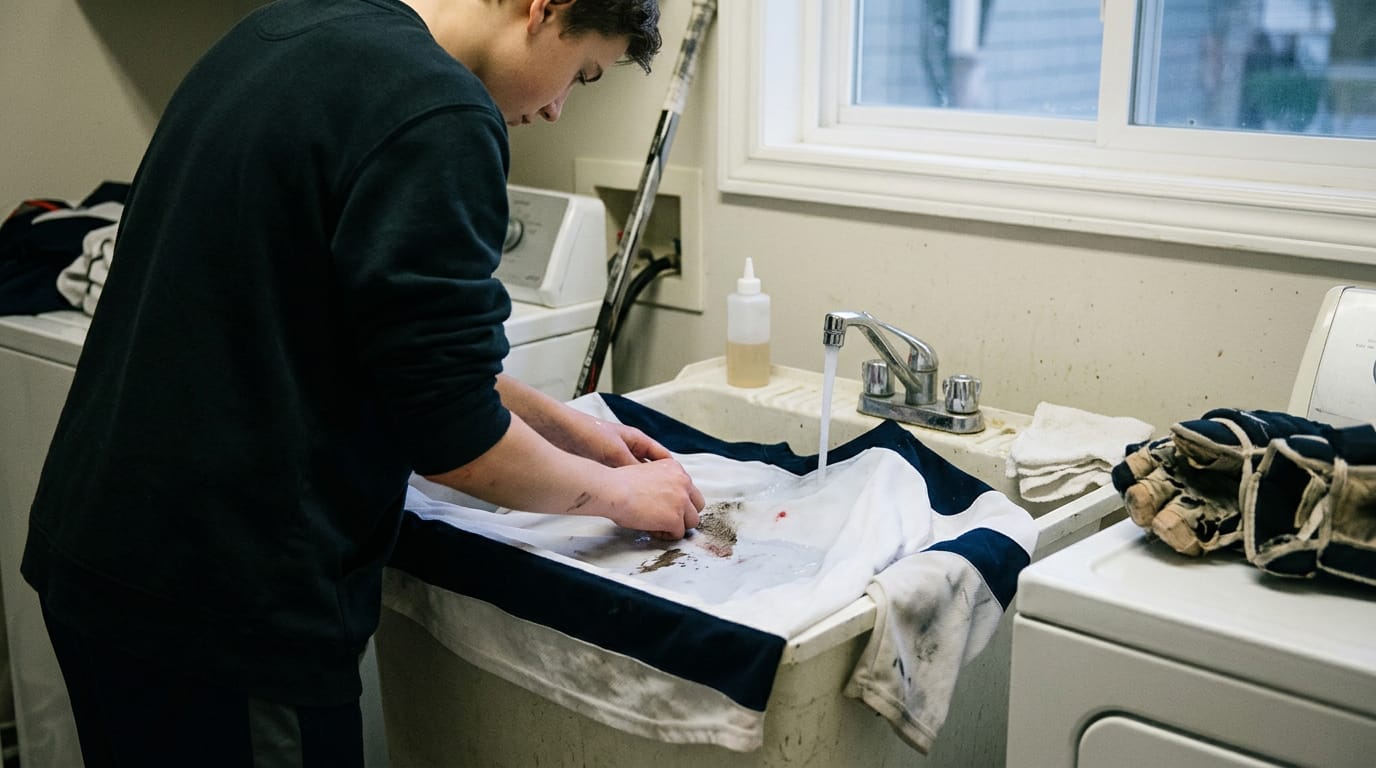
Spot clean mud, blood, sweat, and ink
Don’t let stains sit, so treat them before the full wash:
- Ice, snow, and mud: Let ice and snow melt, then brush or rinse mud off before it dries.
- Blood and enzyme cleaners: Dab blood with an enzyme cleaner rather than scrubbing harder.
- Sweat and body oils: Wipe the palms and cuffs after each game, where sweat and oils build up.
- Ink and puck marks: Work on one mark at a time so it doesn’t spread.
- Use cold water, gentle scrubbing: Stick with cold water and light scrubbing. A gentle touch lifts a stain, while a hard one just grinds it in.
Wet your palms for a better grip
Here’s a simple habit with a big payoff: water improves latex grip. A light splash on the palms before a shot is a small step that pays off.
Pros squirt water on their gloves or even spit on the palms. The aim is a damp palm, not a soaked glove. Grip is the goal. Keep it damp.
Hand Washing Goalie Gloves Step by Step
Washing goalie gloves is simpler than it looks once you know the right order. Here’s the process from start to finish, what to grab before you begin, and the mistakes that can quietly wreck a good pair.
Rinse, soap, massage, then rinse clean
Think of a 12-year-old keeper who comes off the field after a muddy Saturday match with gloves caked in grass. Her parent can wash them at the kitchen sink that same evening, leaving them ready to dry before Sunday’s game. Here’s how:
- Rinse loose dirt first. Knock off what you can under running water before anything else.
- Fill a basin with water. Make sure it isn’t hot.
- Apply mild soap or glove wash. A small amount, worked into the water, is plenty.
- Massage the palms under water. Use your fingertips to massage the palms and fingers rather than scrub them.
- Rinse out all soap. Keep rinsing until no suds remain inside the glove.
Supplies you need, from soap to brushes
You don’t need a shelf full of products. Gather these before you start:
- Mild soap or detergent: A small squirt is enough for a basin of water.
- Specialized glove cleaner: A product made for gloves is the easiest option if you have one. Follow its label directions.
- Soft cloth or brush: Choose something soft that can lift dirt off the surface.
- Water alone works: For light dirt, plain water may be all you need.
Soaking gloves for a deeper clean
Some gloves come home really grimy, and a deeper clean can help. That’s where the optional bathtub soak comes in.
Fill the tub with enough water to cover the gloves, add your soap or glove cleaner, and let them sit for 15 to 30 minutes. Let the water do the work.
While they soak, give the interior lining a gentle clean too. That’s the inner surface your hand sits against, so don’t skip it.
Mistakes to avoid when washing gloves
Avoid these four slip-ups:
- No machine washing. Skip the washer and stick with the hand method above.
- No fabric softener. Keep it away from the rinse water.
- No aggressive scrubbing. Gloves need care more than muscle.
- No hot water. Stay away from it, even when the gloves are muddy.
Watch a washing and drying demo
If you’d rather watch than read, a video demonstration of washing and drying shows the whole process in action. Watch it first, then head to the sink with the steps above in mind.
Drying Goalie Gloves the Right Way
Once your gloves are clean and rinsed, drying decides how they feel the next time you pull them on. Get the water out gently, then let air do the rest.
Squeezing out extra water gently
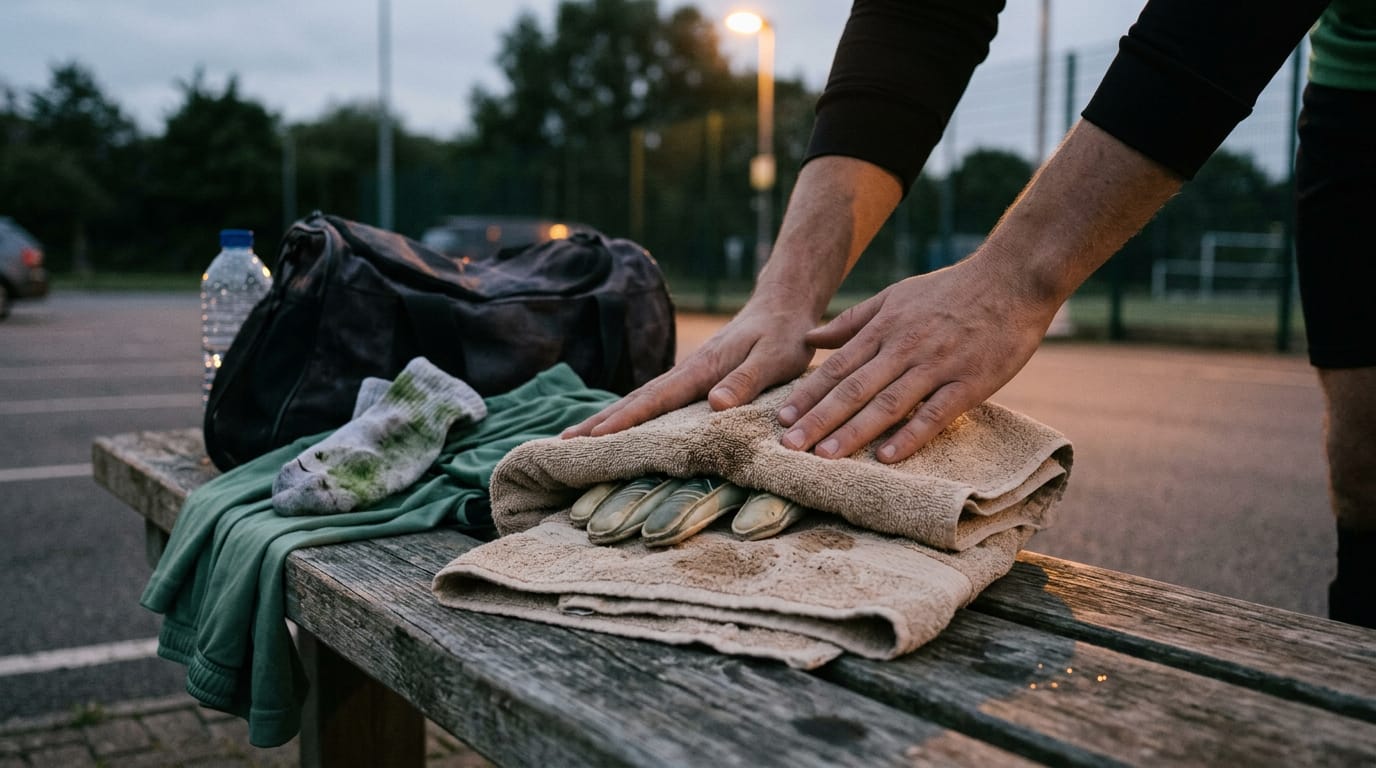
Start by squeezing out the extra water with your hands. Squeeze, don’t twist or wring, since twisting can warp the glove’s shape. Next, lay the glove on a dry towel and blot it. Blot, don’t rub: rubbing just pushes the water around.
For the last of the moisture, wrap the glove in the towel and press gently.
Think of a keeper who wrings out soaked gloves in the car after Saturday’s match. Pressing them dry instead keeps the shape ready for next weekend.
Air drying gloves for about a day
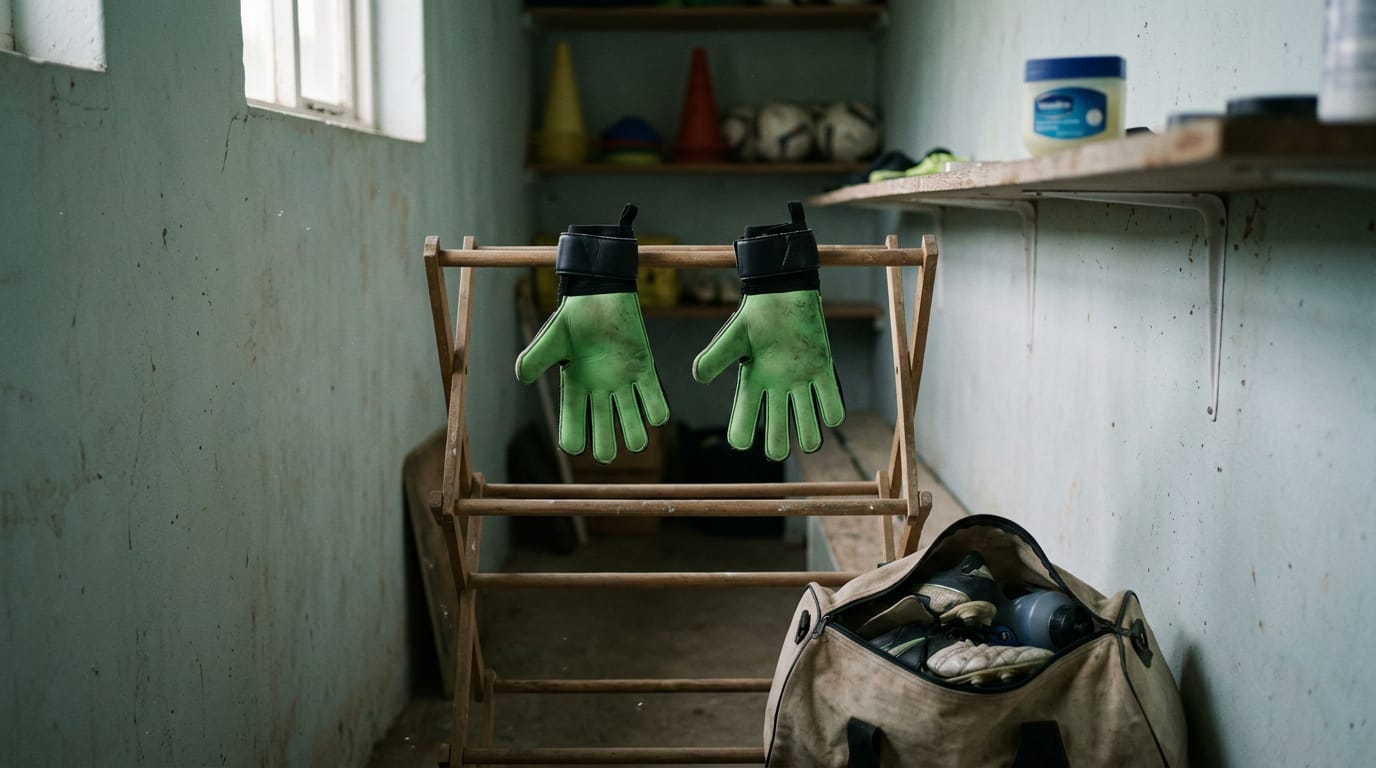
Air drying is slow, so plan on about 24 hours. Pick a well-ventilated spot, like a spare room or a garage with the door open. Hang the gloves or lay them flat, and reshape them as they dry so the fingers and palm keep their natural curve.
Keep the palms from touching so air can reach both sides.
For example, a youth keeper who washes gloves after Sunday’s match can set them on a spare-room floor that night, check them Monday evening, and have them ready for Tuesday’s training.
Heat sources and damp spots to avoid
Gentle air beats direct heat every time, so keep gloves away from:
- Radiators and heaters. Strong heat dries the material too fast.
- Tumble dryers. We’d skip them entirely.
- Direct sunlight. It bakes the glove from the outside in.
Heat makes the material brittle, so gloves crack before their time. Damp spots are the flip side: humid corners like a basement or bathroom can grow mould. Pick somewhere dry with real airflow. Patience wins.
Tools that speed up drying
Two simple helpers can shorten the wait:
- Fan for airflow. Point a fan at the rack on low so air moves across both sides of each glove.
- Drying inserts. These shaped forms slide inside to help the gloves hold their shape while they dry.
Routine for Storing and Maintaining Gloves
Good gloves don’t need a complicated routine, just a steady one. Here’s how to keep up.
How often gloves need washing
Wash gloves after every use, even when they only look a little dirty. Picture a 12-year-old keeper who trains Tuesday and plays Saturday, tossing sweaty gloves into her bag next to shin guards.
Rinsing them the same day keeps grime from setting, so they’re ready for the next match. Same-day rinsing beats scrubbing later.
Give them a deep clean every 2-3 weeks. Do it sooner if they feel stiff or sticky, dirt won’t brush off, or odor lingers after rinsing.
Where and how to store gloves
Store gloves somewhere cool and dry, out of direct sunlight:
- Breathe, don’t seal. Skip stuffy bags that trap moisture.
- Keep palms apart. Palms pressed together hold moisture.
- Dry first. Never store dirty gloves. Store them dry rather than damp.
- Air them out. A drying rack or glove wallet lets air reach both sides.
- Consider a glove bag. One is worth buying if your gloves ride around with boots and water bottles.
Wondering about Vaseline? Some keepers rub a thin layer into the palms to keep the latex supple and stop it cracking, which is why they reach for it.
If you try it, go light: use only a dab and wipe off the excess, since heavy coats leave gloves greasy and petroleum can wear down latex over time.
Stopping odor, bacteria, and mold
An antibacterial spray or deodorizer can cut down on smell between washes. Use it on dry gloves; it’s a helper, not a substitute for washing.
Mold and mildew love trapped moisture, so think prevention rather than cleanup. Dry gloves fully before storing and keep them out of damp corners of the bag.
Wear, Lifespan, and Checking Your Gloves
Gloves don’t wear out on a timetable. How you use, play in, and care for them decides how long the palms last, so here’s what we’ll cover.
What makes latex palms wear out
Some wear is normal and expected. These factors drive most of the rest:
- Keeper age and technique. A keeper still learning to dive and get up drags palms across the ground more, which wears latex faster.
- Save volume. The more shots you stop, the more the palms take.
- Care instructions followed. Skipping the care instructions shortens the latex’s life.
- Rotate match and training pairs. One pair for everything concentrates the wear. Two pairs split it.
Judge a pair by its condition, not its age. An older pair with supple palms may outlast a newer one that’s already worn through.
How turf and glove cut affect wear
Artificial turf wears palms faster, so expect a shorter life if most of your training happens on it. The glove cut, meaning how the fingers and palm are sewn together, matters too. A negative cut wears fingers faster, while a classic cut lasts longer.
Think of a 12-year-old keeper who trains on turf three nights a week and plays every Saturday in the same pair. Rotating in a second pair spreads the wear between two pairs, so neither one gets worn out too early. Small habit, real payoff.
Ways to cut wear during training
Two habits help most:
- Push up with fists. When you get up, push up with your fists, not flat palms.
- Avoid palms on ground. Keep your palms off the turf between saves and during drills.
Check gloves for damage after washing
Once a pair is clean and dry, check it before bagging it.
- Check stitching and seams. Look for loose threads and seams starting to split.
- Test flexibility and padding. Flex the fingers and press the padding. Stiff fingers or flat padding mean it’s losing its give.
- Inspect palms and fingers. Look for thin spots, tears, and fingertips wearing through.
Slick palms aren’t always finished. Dirt or residue can hide the tack, the sticky grip on the palm, so if you’re trying to restore it, clean the palms using the steps covered earlier in this article and test the grip again.
Retire a pair when cleaning can’t fix open seams, torn palms, or fingers that no longer flex. Better to retire early than find out mid-match.
Clean gloves, dried properly and stored with room to breathe, do more than look sharp on the field. They keep their grip, stay comfortable and let you focus on the ball instead of your hands.
Watch for the wear signs we covered, and you’ll know when it’s time to upgrade instead of guessing. Good care buys you more seasons from every pair, and that’s a win for both your budget and your game.
Good gloves disappear once the match starts. That’s exactly what you want.
Questions
How to make goalie gloves sticky?
Keep the latex palms clean and slightly damp: rinse off dirt, then lightly wet the palms with water before play. If the gloves feel slick, clean them gently first, since dirt or residue can hide the grip. Avoid sticky sprays or heavy coatings that can leave residue or damage the latex.
How to clean goalie gloves without glove wash?
Rinse the gloves with cool water to remove dirt, then gently massage the palms and fingers under water. For tougher grime, use a small amount of mild soap or detergent, rinse until no suds remain, and air-dry away from heat and direct sunlight.
Why put vaseline on goalkeeper gloves?
Some keepers apply a very thin layer of Vaseline to help keep latex supple and reduce cracking. Use only a dab and wipe off the excess, because too much can make the palms greasy, and petroleum may wear down latex over time.
Can you machine wash goalie gloves?
It is best not to machine wash goalie gloves. Hand-wash them gently with cool or lukewarm water and mild soap, then air-dry them away from direct heat and sunlight.
Can you wash lacrosse gloves in the washer?
Many lacrosse gloves can be machine washed, but check the manufacturer's care instructions first because materials and construction vary. If machine washing is allowed, use a gentle cycle, cool water, and mild detergent, then air-dry them; avoid heat from a dryer.
Find your level
The Counter