Squats with Resistance Bands: A Complete Guide
Squats with resistance bands add a leg-burning challenge without heavy equipment. Get stance, clean form, mistake fixes, and progressions for harder reps.

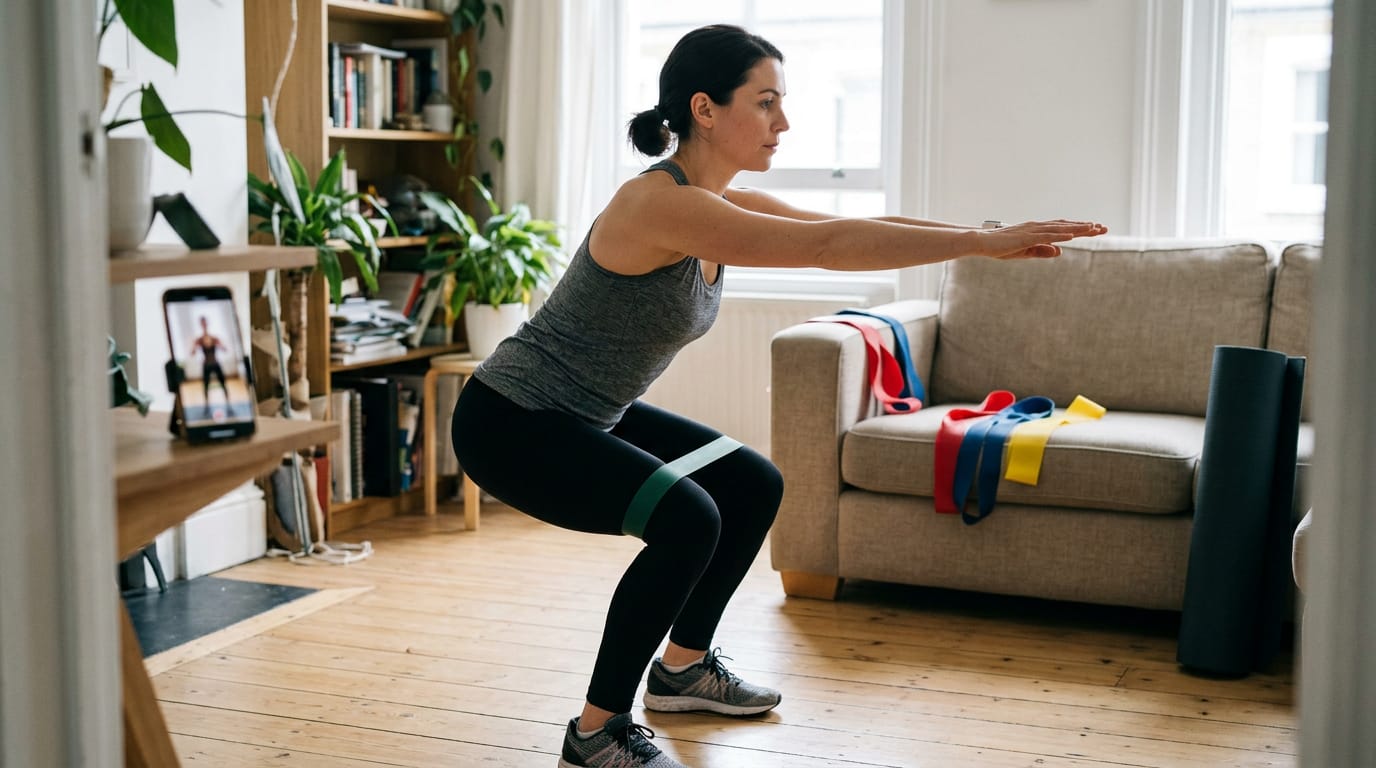
Ever done a bodyweight squat in the living room, found it easy, then wondered why your legs burned by rep twelve? A resistance band adds that missing challenge without any heavy equipment.
Squats with resistance bands are regular squats with a band adding tension as you sit down and stand back up. Think of it as a patient training partner that fits in a drawer.
Here, we’ll cover what band squats are, how to set up and move with clean form, common mistakes, progressions, and how to choose a loop or tube band that fits and lasts.
What Squats with Resistance Bands Work
A band squat is a regular squat with an elastic loop above the knees, and that small change shifts where the work lands.
What the band squat is for
The squat is often called the mother of all exercises, and it’s easy to see why: it’s a foundational, bodyweight-based lower-body move. Adding a loop band above your knees gives it a clear job.
As you sink down and stand back up, the band pushes your knees outward, creating outward hip pressure. That also teaches knee tracking, keeping your knees in line with your toes instead of caving inward.
Which muscles the band squat works
The quadriceps, the large muscles on the front of your thighs, do the primary work as you stand. Your glutes and hip stabilizers (the smaller muscles that keep your hips steady) take on more load against the band.
Your core steadies your torso, and the band adds tension along your outer thigh.
Where it differs from a regular squat
The band adds hip-abduction tension, working the muscles that move your leg out to the side. That makes it a useful warm-up: the resistance is light, so you’ll wake up your hips before heavier work.
Consider a weekend soccer player who does a few band squats before Saturday’s game. Her hips are switched on before the first sprint.
The bigger difference is where the work lands.
A Colorado Sports Medicine & Orthopaedics post featuring Dr. Catherine Logan reports that, compared with free squatting, muscle activity rose 83% in the gluteus medius (a side hip muscle) and 68% in the gluteus maximus (the largest glute) when the stiffest band was positioned around the forefeet.
That’s the glute activation emphasis. Same move, different focus.
Why Do People Squat with Bands?
People squat with bands because the band adds resistance to a movement you already know, and it works in a living room.
Ways to fit it into training
Band squats show up in a workout in four main ways:
- Warm-up drill. Slow reps before you train get your hips, knees, and ankles moving.
- Glute activation. Working against a band helps your glutes switch on before you load anything heavy.
- Accessory exercise. A set or two after your main lifts adds leg work without changing your plan.
- Light strength work. On recovery days, band squats keep your legs working at a lower intensity.
Consider a club soccer player with a Saturday match. She runs through a few band squats as her warm-up on Thursday, then finishes with two sets after practice. By Saturday, her legs feel springy instead of stiff.

Simple at home and before heavy lifts
Band squats need very little setup: a loop band, a clear patch of floor, and room to sit back. With no bar or machine needed, there’s no rack to walk over to and no plates to load. Less gear, more reps. Without a leg press machine, a leg press alternative at home is the logical next step.
Light resistance also prepares you for heavier lifting. You rehearse the movement and how you hold your torso steady before a barbell goes on your back, so the first heavy set feels familiar.
Band squats also reinforce knee tracking, the path your knees follow as you sit and stand. Pressing your knees out against the band keeps them over your toes, and if they drift inward, you’ll feel the band go slack.
This is less about how much the band pulls and more about where your knees go.
Getting the Band and Stance Right
Two things shape every band squat: where the band sits and how you stand before you start. Get both right and the movement feels far more controlled.
Where the band should sit
Picture a club volleyball player squatting between practices. Her loop band belongs above the knees, not on them, so every set stays steady. Here’s how to keep it there:
- Just above the knees. Slide the loop up so it wraps the thighs, clear of the joint.
- Not on kneecaps. A band on the kneecap can irritate the joint, so check placement before each set.
- Reset if it rolls. If it creeps down, stop, step out, and reposition it.
- Avoids joint discomfort. Keeping the band above the knee keeps the squat comfortable.
How to stand before you squat
It’s easy to rush setup, so work through these in order:
- Stand with your feet shoulder-width apart.
- Turn your toes slightly outward.
- Bring your hands to chest height.
- Brace your trunk and keep your ribs stacked.
- Apply light initial tension to the band, just enough to feel it.
Choosing a band that fits your level
Start with one goal: let the band allow full depth. If it stops you short, it’s too stiff for where you are right now.
Beginners should reach for a light band, which lets them learn the movement before adding load. Start lighter than you think.
Avoid knee collapse, where your knees cave inward as you stand. If that happens, the band is likely too strong, so step down a level.
Fabric and latex loop bands can both work. Choose the one that stays above your knees, since a rolling band undoes your setup.
Match resistance to your fitness. Consider a weekend hiker back on the trail after a long winter. They start light and move up only when the final reps feel challenging and their form holds.
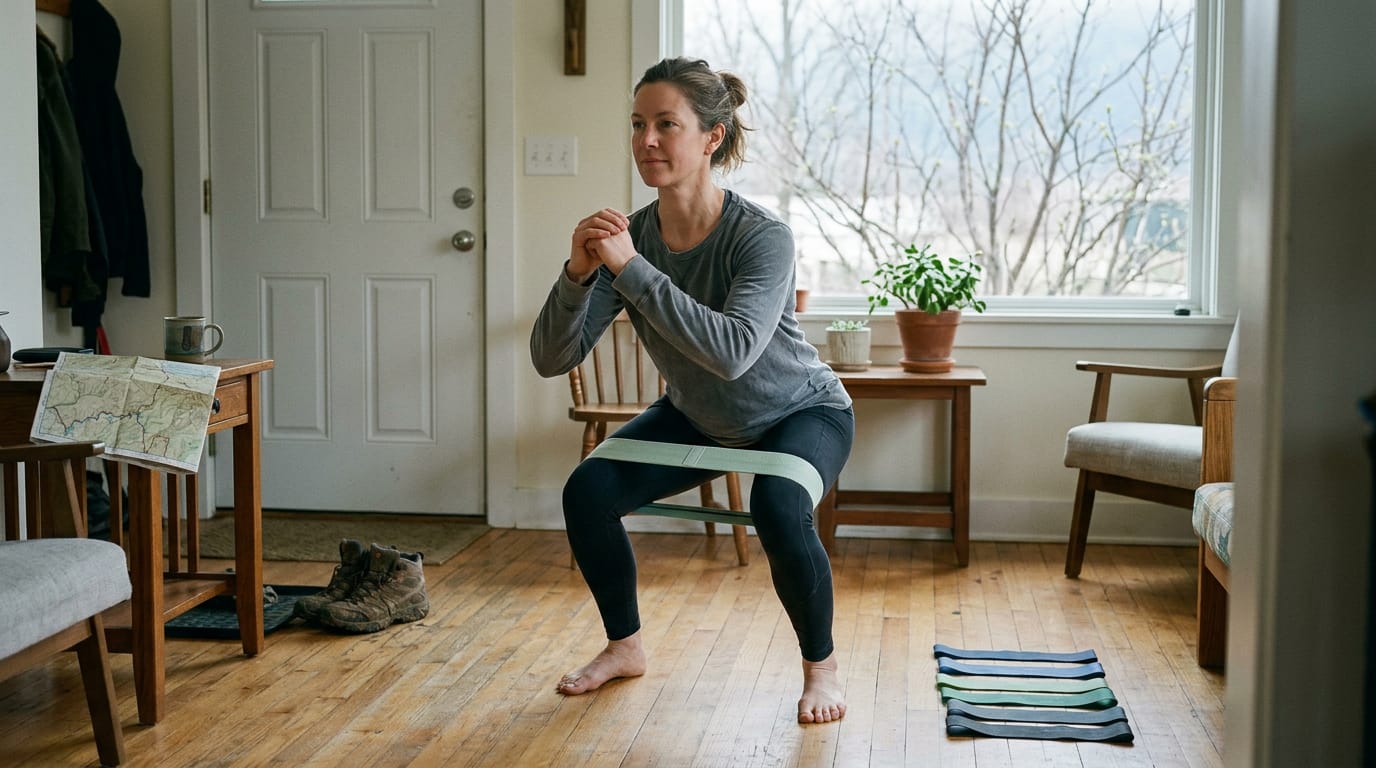
Doing Each Squat Step by Step
Here’s the full sequence, from your first lowering rep to standing tall again. Work through each part slowly, because the cues matter more than speed.
Lowering down with control
Start with a hip hinge: push your hips back first, like reaching for a chair behind you, then bend your knees to follow. Keep your chest lifted so your upper back stays tall.
As you descend, press your knees out so they track over your toes instead of caving in. Lower slowly, because the slow part is where the control comes from.
Think of a weekend hockey player doing these in the basement before Saturday’s game. A steady lowering keeps the knees tracking, so the legs hold up in the third period.
How low to go at the bottom
Aim for your thighs at least parallel to the floor. Going deeper is fine if your form holds, but stop as soon as it breaks: your back rounds, your heels lift, or your knees cave in.
Keep band tension (the steady pull the band puts on your legs) through the whole rep, and keep your heels grounded. Your target is control, not the lowest point you can reach. Form sets the depth.
Driving back up to standing
Push through your midfoot and heels, not your toes, to drive back up. Keep your knees pressing out the whole way so they don’t drift inward as you tire. Stand tall at the top without leaning back.
Then reset: take a breath, check that your feet are still set, and go again.
Form Tips and Mistakes to Avoid
Most band squat problems come down to a few predictable slips. Here’s what to watch for before your first rep.
When knees cave in or flare out
Picture a weekend hoops player using a loop band for leg day before Saturday’s game. Her knees drift together on the way down, and the band exposes it. Keep your knee tracking steady, with knees pointing the way your toes do.
- Knees caving inward: the band pulls them together, so push them out against it.
- Pushing knees too wide: forcing them past your toes strains the joints. Aim for a controlled path instead.
- Pelvis tilt or foot roll: if your pelvis tucks under or your feet roll outward, slow down and reset before the next rep.
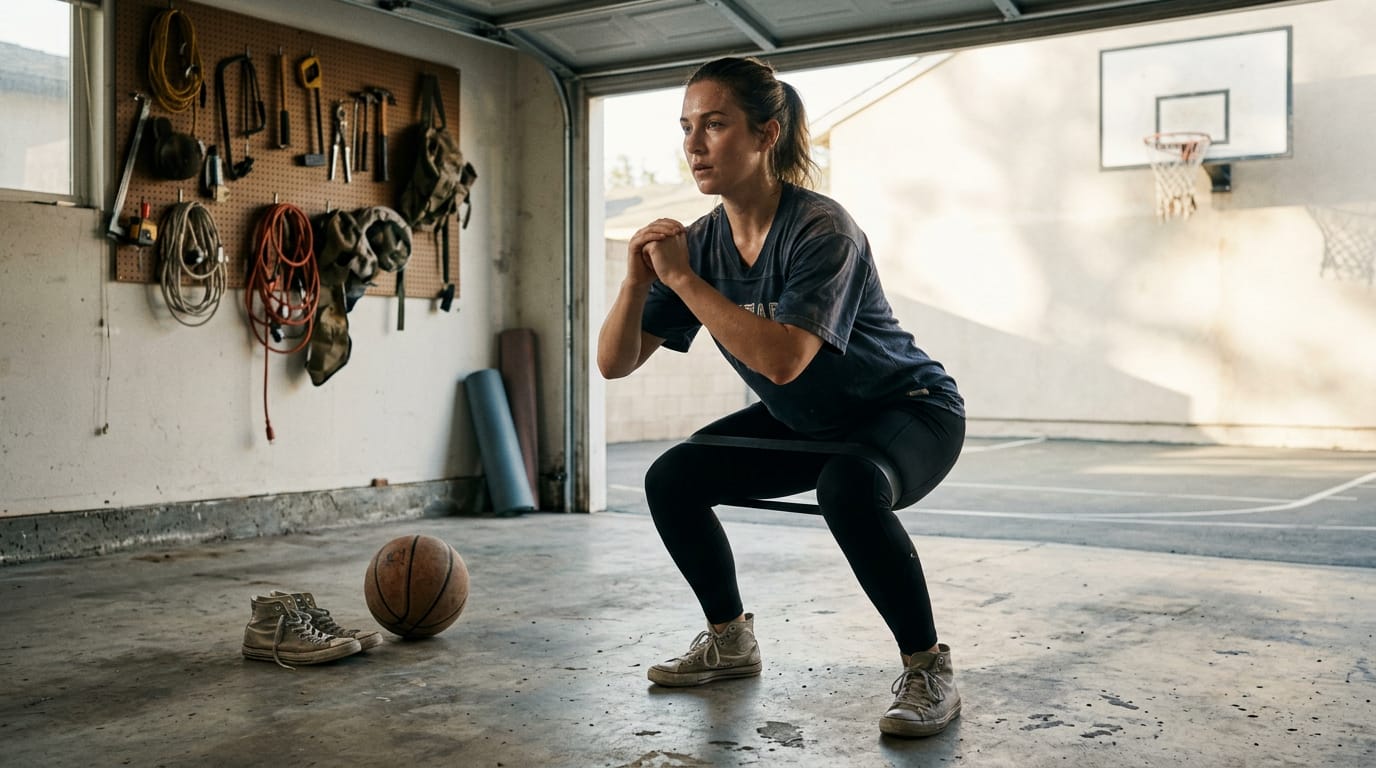
Common band and stance slip-ups
- Band rolling onto knees: it slides toward the kneecap, loses tension and pinches. Reposition it above the kneecap before each set.
- Stance too narrow: a cramped stance fights the band’s pull and feels wobbly.
- Heels lifting: shift your weight back toward mid-foot and sit back, not forward onto your toes.
- Folding torso forward: a hunched chest turns the squat into a bend. Keep your chest tall.
- Check band wear before use: look for nicks, thin spots, cracks, or fraying, and retire any worn band before it snaps mid-rep.
Staying safe and pain-free
Consider a dad squatting with a tube band after work who feels a sharp twinge in his knee. He stops that set, switches to a lighter band, and keeps training all week. Stopping early beats sitting out the month.
- Keep pain-free: stop at sharp pain. Mild muscle burn is normal, but joint pain isn’t.
- Reduce resistance: switch to a lighter band you can control.
- Shorten range: sit only as low as your form holds up.
- Widen stance slightly: a little extra width often feels steadier.
Starting Out and Getting Harder
Band squats are less about how many reps you can crank out and more about how well each one is done.
A gentle way to start
Think of a parent who hasn’t squatted since high school, starting with a light band before the kids wake up. So what will 100 bodyweight squats a day do?
A study from the Proceeding International Conference on Health Science and Technology found bodyweight squats effective at increasing leg muscle strength in older adults, so daily squats can help build lower-body strength.
The research doesn’t name 100 as the magic number, though, so treat that count as a goal, not a starting point.
Your setup comes down to four basics:
- Light band. Pick one that lets you finish every rep with clean form.
- Partial depth. Squat only as low as you can control.
- Shoulder-width stance. Set your feet about shoulder-width apart.
- Clean knee tracking. Keep your knees in line with your toes, not caving inward.
A sample starting week looks like two or three sets of 8 to 12 reps, three days a week, with rest days in between.
Turning up the challenge over time
Move up when the light band feels easy and your form stays steady.
- Stronger band. Step up only when your form holds through the last set.
- Slow lowering. Lower over a slow count, not a drop.
- Pause at bottom. Hold briefly before you stand.
- More controlled reps. Aim for smoother reps. Control beats count.
Once the progressions feel steady, try a goblet squat, holding the band at your chest, or a banded barbell squat, where the band adds load to a bar.
Squats with resistance bands add challenge without adding complexity. Once you know how to set up, keep your form clean, and progress at a sensible pace, the band becomes a quiet partner in your routine.
When you shop, the right band is the one that matches where you are today, fits your setup, and holds up through regular use. That way your squats keep improving instead of stalling.
Good gear disappears once you’re training. That’s the whole point of choosing it well in the first place.
References
- The difference in the effects of otago exercise and bodyweight squat on lower limb muscle strength improvement in the elderly | Proceeding International Conference on Health Science and Technology — proceeding.unisayogya.ac.id (2025)
- Glute Activation During Squats with Dr. Catherine Logan: Colorado Sports Medicine & Orthopaedics: Orthopaedics — cosportsmedicine.com
Questions
What is a German squat?
A German squat, also called a sissy squat, is a bodyweight quadriceps exercise. You bend your knees and lean your torso backward while keeping your hips extended, then straighten your legs to return upright; use support and a comfortable range if needed.
What is the mother of all exercises?
The squat is often called the “mother of all exercises” because it is a foundational lower-body movement that trains the legs and engages the core. Its basic pattern can be performed with bodyweight or progressed with added resistance.
Why do people squat with bands?
People use bands during squats to add resistance, emphasize the glutes and hip stabilizers, and encourage the knees to track in line with the toes. Band squats are also useful as a warm-up, an accessory exercise, or light strength work without a barbell or machine.
What will 100 bodyweight squats a day do?
Doing 100 bodyweight squats a day can build lower-body strength and muscular endurance, especially if you are new to squatting. But 100 is not a magic number: start with a manageable number, maintain good form, and allow time to recover as needed.
Sources
- Glute Activation During Squats with Dr. Catherine Logan: Colorado Sports Medicine & Orthopaedics: Orthopaedics, cosportsmedicine.com
- The difference in the effects of otago exercise and bodyweight squat on lower limb muscle strength improvement in the elderly | Proceeding International, proceeding.unisayogya.ac.id,
Find your level
The Counter